
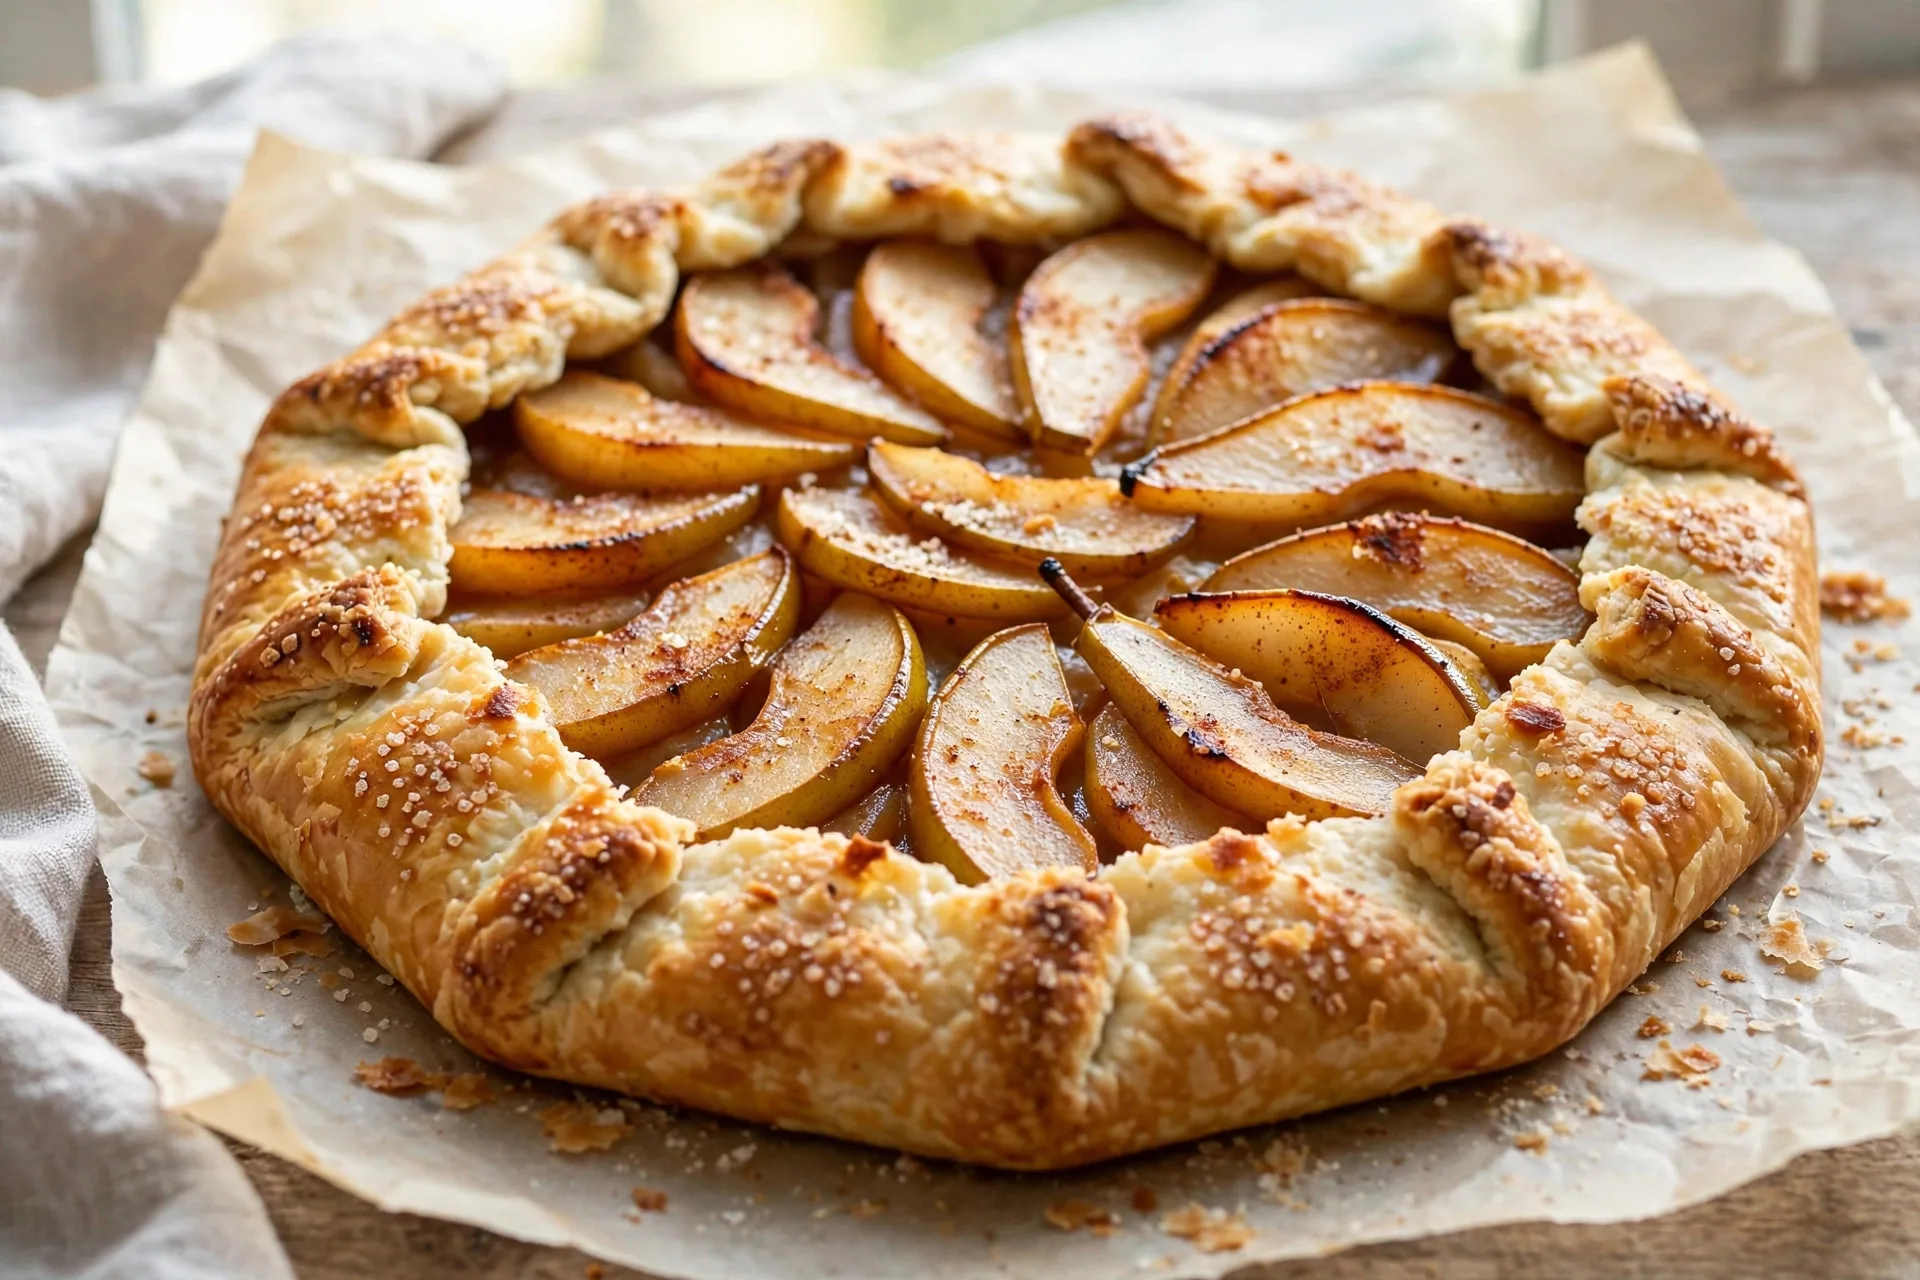
Spiced Pear Galette
There’s a special confidence that comes with a galette. No pie pan, no crimping, no lattice — just buttery dough folded casually around spiced fruit and baked until golden and bubbling. A crack here, an uneven pleat there: that’s not a mistake, that’s character.
This spiced pear galette is my favorite autumn baking project. Ripe pears turn silky and honeyed in the oven, and a blend of cinnamon, ginger, and nutmeg makes them taste like the season itself. The crust shatters into buttery flakes, the edges get dusted with coarse sugar for crunch, and the whole thing comes together faster than any pie you’ve ever made.
If you’ve been intimidated by pie crust, start here. A galette is pie’s laid-back cousin — all of the flavor, none of the performance anxiety.
Why You’ll Love This Recipe
Galettes are the dessert I recommend to every nervous baker. Here’s what makes this one a standout:

- No special pan needed. Just a baking sheet and parchment — the free-form shape is the whole point.
- Flaky all-butter crust. Simple, reliable, and shatteringly crisp with a sugared edge.
- Pears at their best. Baking concentrates their flavor and turns them meltingly tender.
- Warm fall spices. Cinnamon, ginger, and nutmeg complement pears beautifully without overwhelming them.
- Impressive with zero stress. Rustic is the aesthetic — imperfections are not just allowed, they’re encouraged.
Ingredients
For the All-Butter Crust
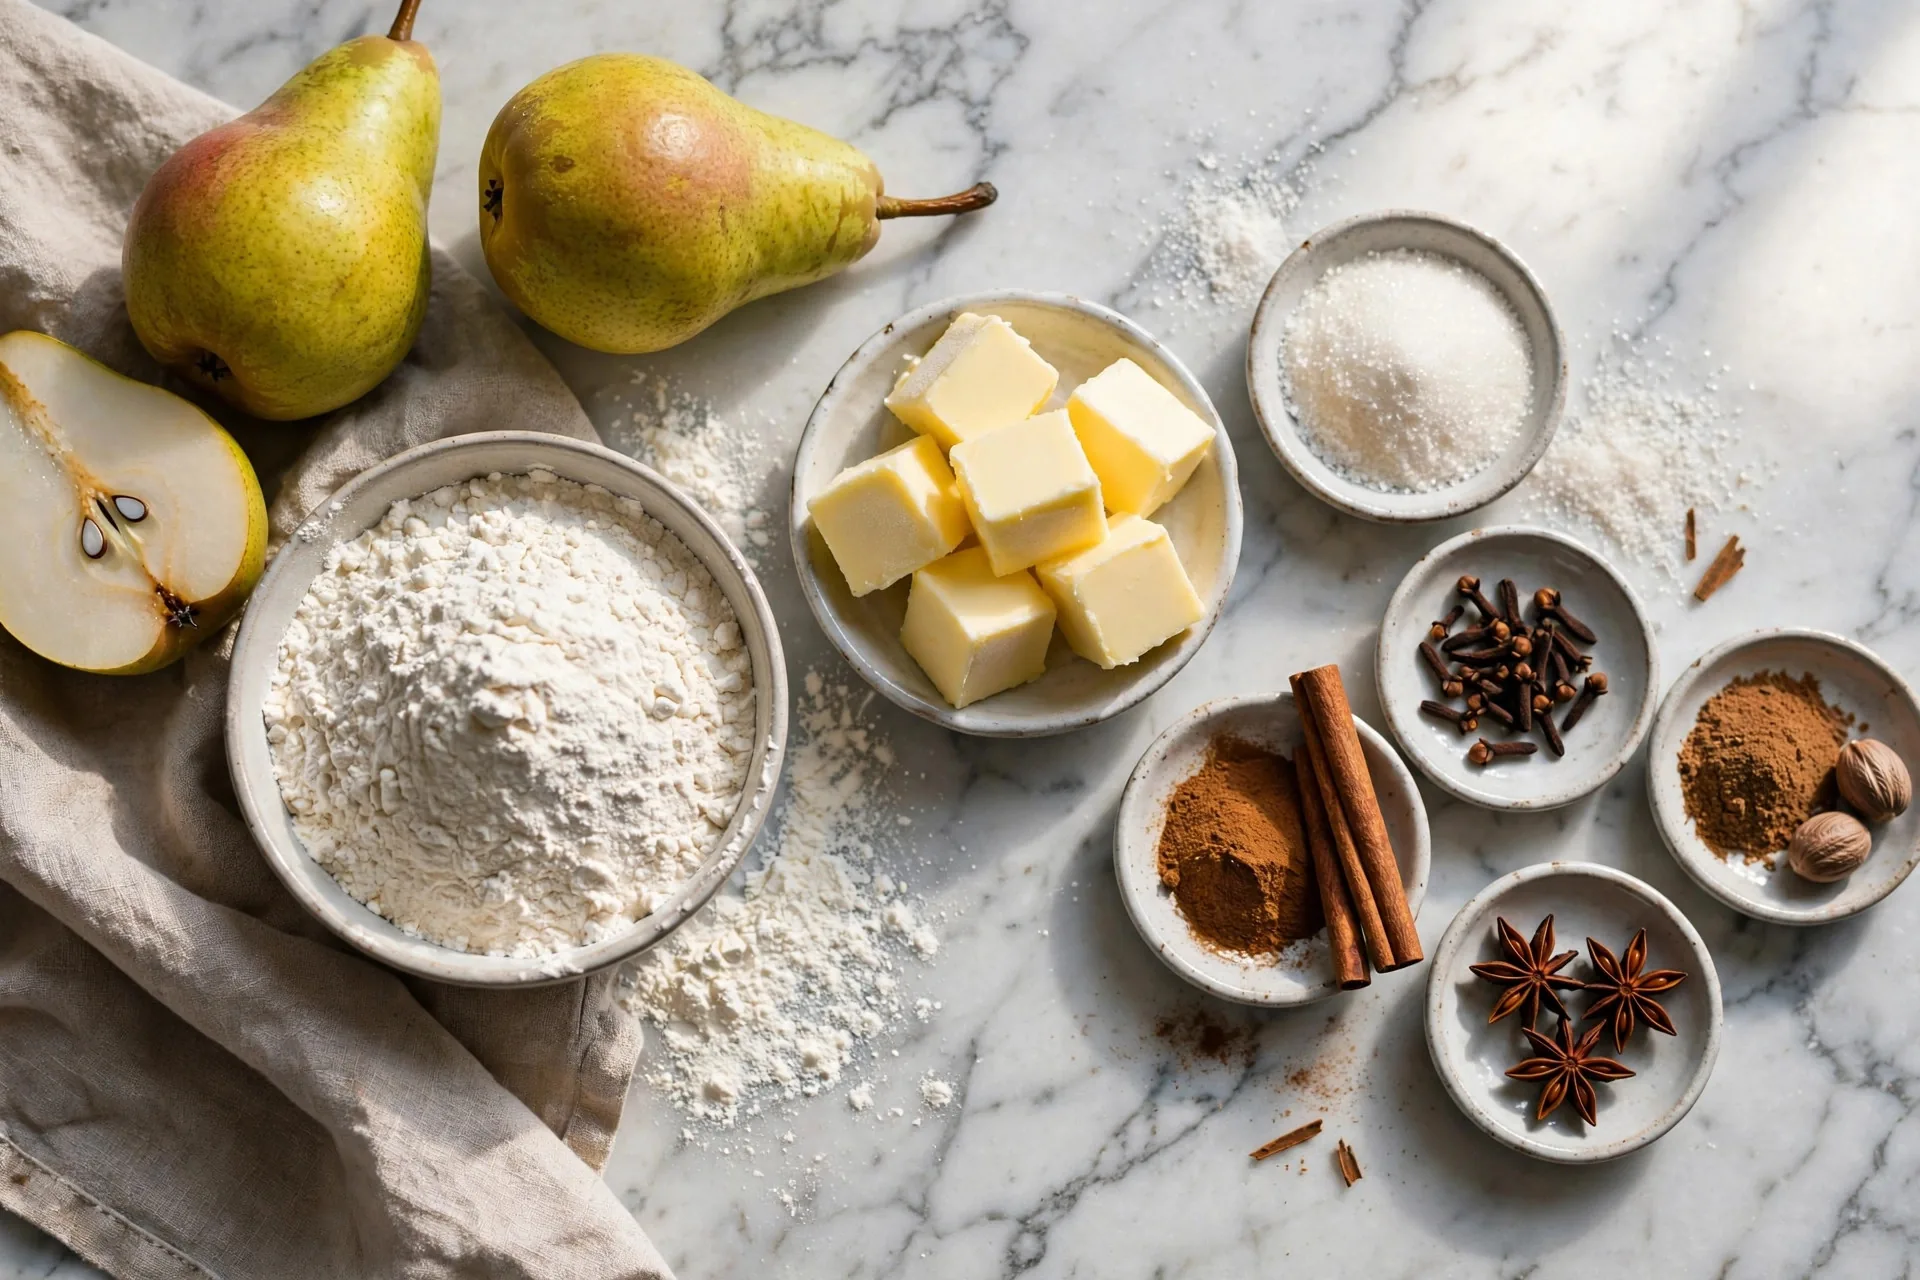
- 1 1/4 cups (160g) all-purpose flour, plus extra for rolling.
- 1 tablespoon (12g) granulated sugar.
- 1/2 teaspoon fine salt.
- 1/2 cup (113g) cold unsalted butter, cut into small cubes — straight from the fridge.
- 3 to 4 tablespoons ice water — start with 3 and add more only if needed.
For the Spiced Pear Filling
- 3 large ripe pears (about 1.5 lb/680g) — Bosc or Anjou hold their shape best; Bartlett works if slightly firm.
- 1/4 cup (50g) granulated sugar.
- 1 tablespoon (8g) cornstarch — thickens the juices so the bottom stays crisp.
- 1 teaspoon ground cinnamon.
- 1/4 teaspoon ground ginger.
- 1/8 teaspoon ground nutmeg.
- 1 teaspoon fresh lemon juice — keeps the pears bright.
- 1 teaspoon vanilla extract.
- 1 pinch fine salt.
To Finish
- 1 large egg beaten with 1 tablespoon milk, for the egg wash.
- 1 tablespoon coarse sugar (turbinado or demerara), for sprinkling.
- 2 tablespoons apricot jam, warmed, for glazing (optional but pretty).
Instructions
- Make the crust. Whisk the flour, sugar, and salt in a large bowl. Add the cold butter cubes and cut them in with a pastry blender or your fingertips until the mixture resembles coarse crumbs with plenty of pea-sized butter pieces. Drizzle in 3 tablespoons of ice water and stir with a fork until the dough starts to come together, adding the last tablespoon only if it feels dry. Gather it into a ball, flatten into a disk, wrap tightly, and refrigerate for at least 30 minutes (up to 2 days).
- Heat the oven. Position a rack in the lower third of the oven and preheat to 400°F (200°C). Line a large baking sheet with parchment paper.
- Prepare the pears. Peel the pears, cut them in half, and remove the cores with a melon baller or paring knife. Slice each half crosswise into 1/4-inch-thick slices. Toss the slices in a bowl with the sugar, cornstarch, cinnamon, ginger, nutmeg, lemon juice, vanilla, and salt. Let sit for 10 minutes so the juices start to release.
- Roll out the dough. On a lightly floured surface, roll the chilled dough into a rough 12-inch round, about 1/8 inch thick. Don’t worry about perfect edges — rustic is the goal. Carefully transfer it to the prepared baking sheet (rolling it loosely around the rolling pin makes this easy).
- Arrange the pears. Starting from the outside, arrange the pear slices in overlapping concentric circles in the center of the dough, leaving a 2-inch border all around. Pour any accumulated juices from the bowl over the fruit.
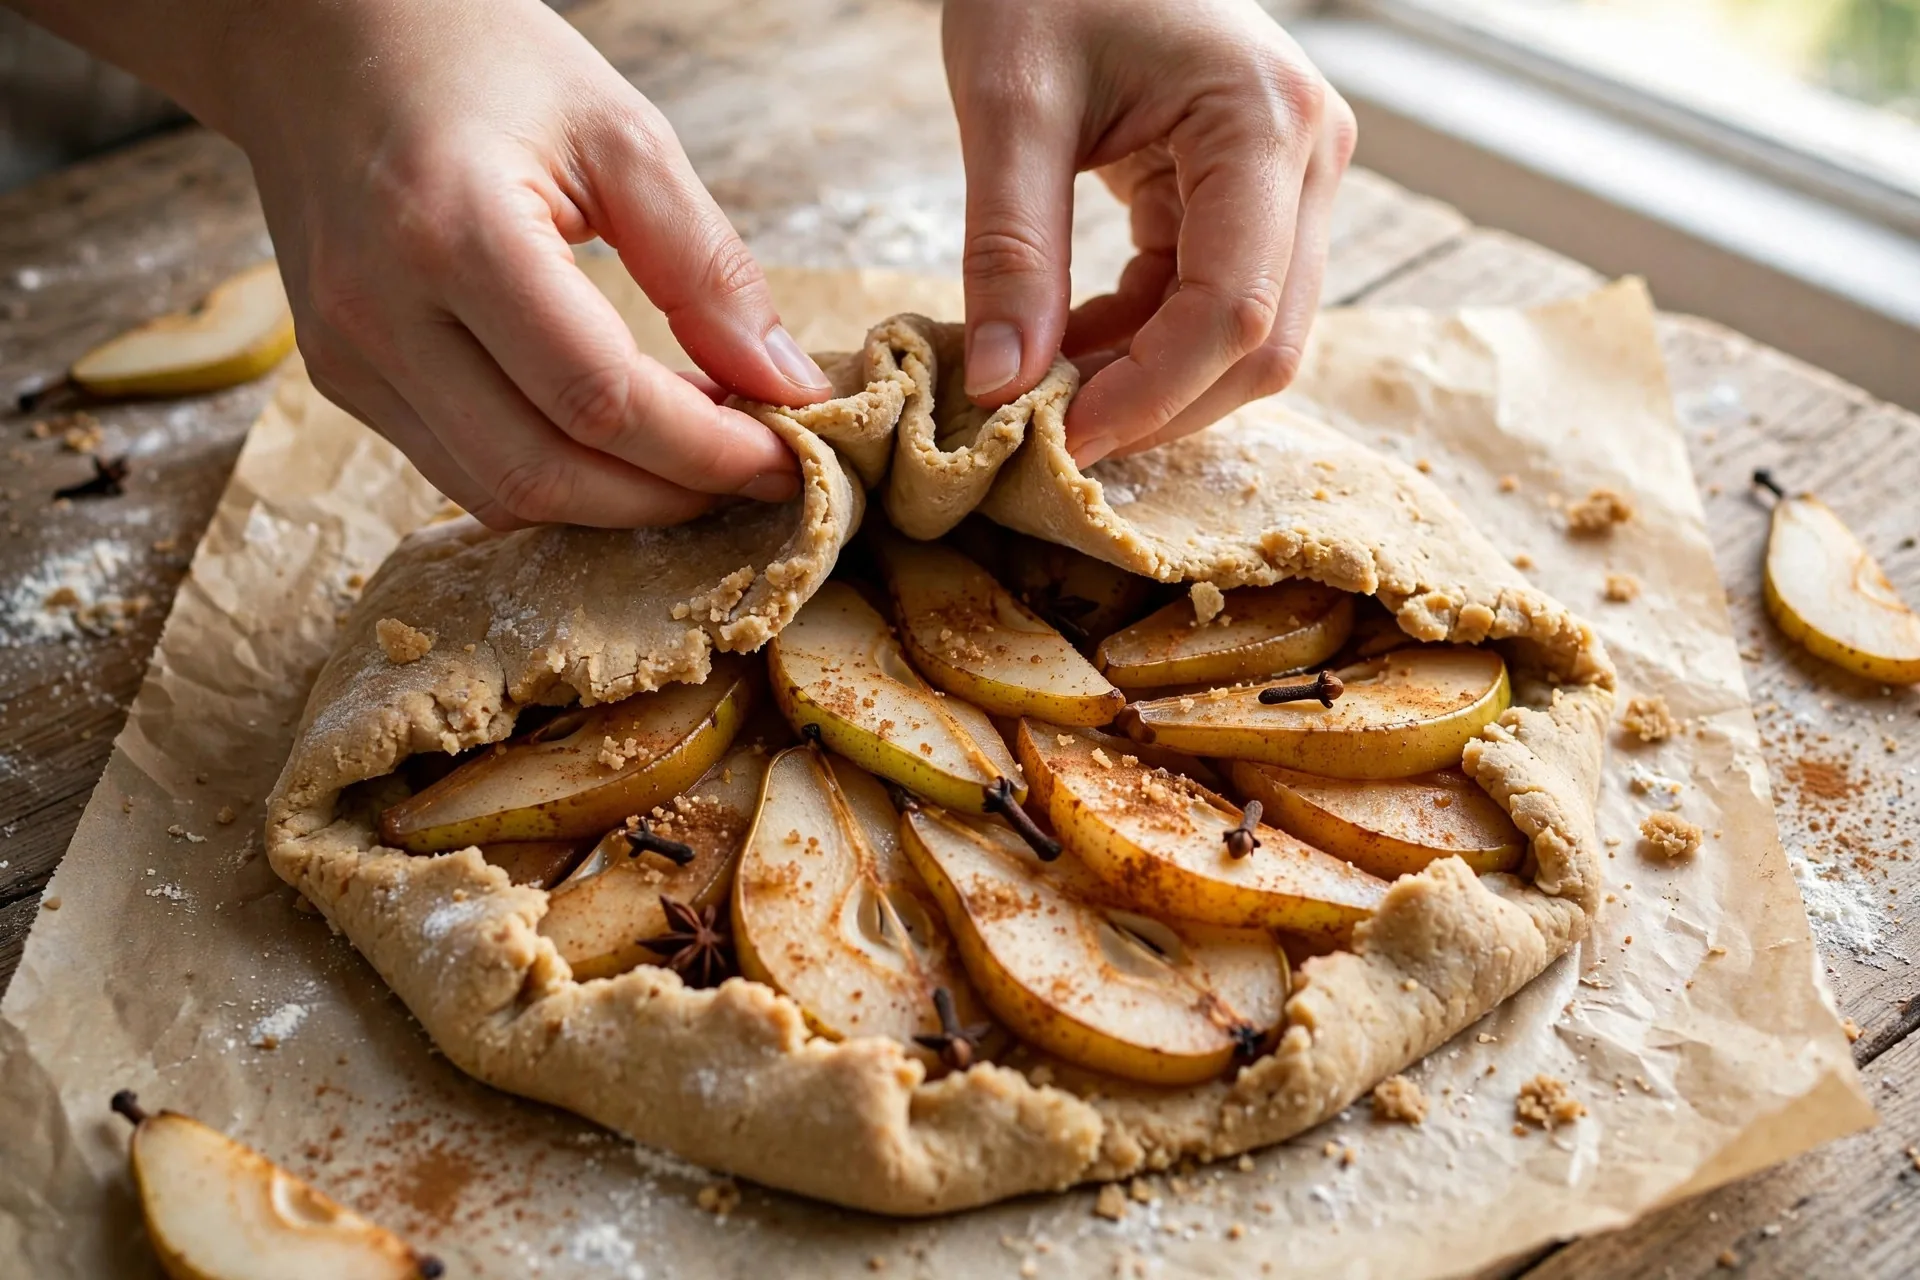
- Fold the crust. Fold the border up and over the pears, pleating it loosely every 2 to 3 inches. Don’t fuss — the pleats should look casual. Brush the folded crust generously with egg wash and sprinkle with the coarse sugar.
- Bake. Bake for 35 to 40 minutes, until the crust is deep golden brown and the pear juices are bubbling thickly in the center. If the crust browns too quickly, tent it loosely with foil for the last 10 minutes.
- Cool and glaze. Let the galette cool on the baking sheet for at least 15 minutes so the juices set. For a bakery-style shine, brush the warm pears with the warmed apricot jam. Serve warm or at room temperature, ideally with vanilla ice cream or softly whipped cream.
Tips for Success
- Choose the right pears. You want ripe but firm — they should give slightly when pressed but not feel mushy. Overripe pears collapse into sauce; underripe ones stay crunchy.
- Keep the dough cold. If the butter melts into the flour before baking, you lose flakiness. If your kitchen is warm, chill the shaped galette for 15 minutes before it goes in the oven.
- Don’t skip the cornstarch. Pears release a lot of juice. Without a thickener, it pools under the crust and makes it soggy.
- Use the lower oven rack. It helps the bottom crust brown and crisp instead of steaming under the fruit.
- Let it rest before slicing. Fifteen minutes minimum. Cutting too early sends the juices running everywhere.
Variations
- Pear and almond: Spread 1/3 cup of almond frangipane (or sweetened almond paste thinned with an egg) over the dough before adding the pears. A classic French pairing.
- Apple galette: Swap the pears for 3 tart apples like Granny Smith or Honeycrisp — same method, same spices.
- Cardamom pear: Replace the ginger and nutmeg with 1/2 teaspoon of ground cardamom for a sophisticated, floral twist.
- Savory-sweet: Tuck thin slices of blue cheese among the pears before folding the crust — the salty-sweet contrast is incredible.
Storage and Make-Ahead
Best the day it’s baked, when the crust is crispest. Leftovers keep loosely covered at room temperature for 2 days — refresh slices 8 to 10 minutes in a 350°F (175°C) oven.
For make-ahead convenience, prepare the dough disk up to 2 days in advance (refrigerated) or 1 month in advance (frozen; thaw overnight in the fridge). You can also assemble the entire unbaked galette, freeze it solid on the baking sheet, wrap it well, and bake straight from frozen at 400°F (200°C), adding 10 to 15 minutes to the bake time.
Frequently Asked Questions
Do I need to peel the pears?
I recommend it. Pear skins can turn tough and chewy when baked, and peeled pears give you that silky, uniform texture. It takes five minutes and makes a real difference.
Why is my galette soggy on the bottom?
Three likely causes: not enough thickener (don’t skip the cornstarch), an oven that wasn’t fully preheated, or baking on an upper rack. Bake on the lower third rack on a preheated sheet, and the bottom will crisp up nicely.
Can I use store-bought pie dough?
Yes — one standard 9-inch pie dough round works, though it’s slightly smaller than the homemade version, so reduce the filling a touch. It won’t be quite as flaky as the all-butter crust here, but it makes this a genuine 20-minute-prep dessert.
How do I know when it’s done?
Look for a deep golden-brown crust, visibly bubbling juices in the center, and pears that yield easily to a knife. When in doubt, give it 5 more minutes.
Recipe Card
| Prep time | 30 minutes (+30 minutes chilling) |
| Cook time | 40 minutes |
| Total time | 1 hour 40 minutes |
| Servings | 8 servings |
| Calories per serving | 310 kcal |
Rustic, buttery, and perfumed with fall spices — this spiced pear galette is the kind of dessert that makes an ordinary weeknight feel like an occasion. If you love baked fruit desserts, this easy homemade apple crisp is another cozy favorite, and the desserts collection has plenty more seasonal inspiration.