
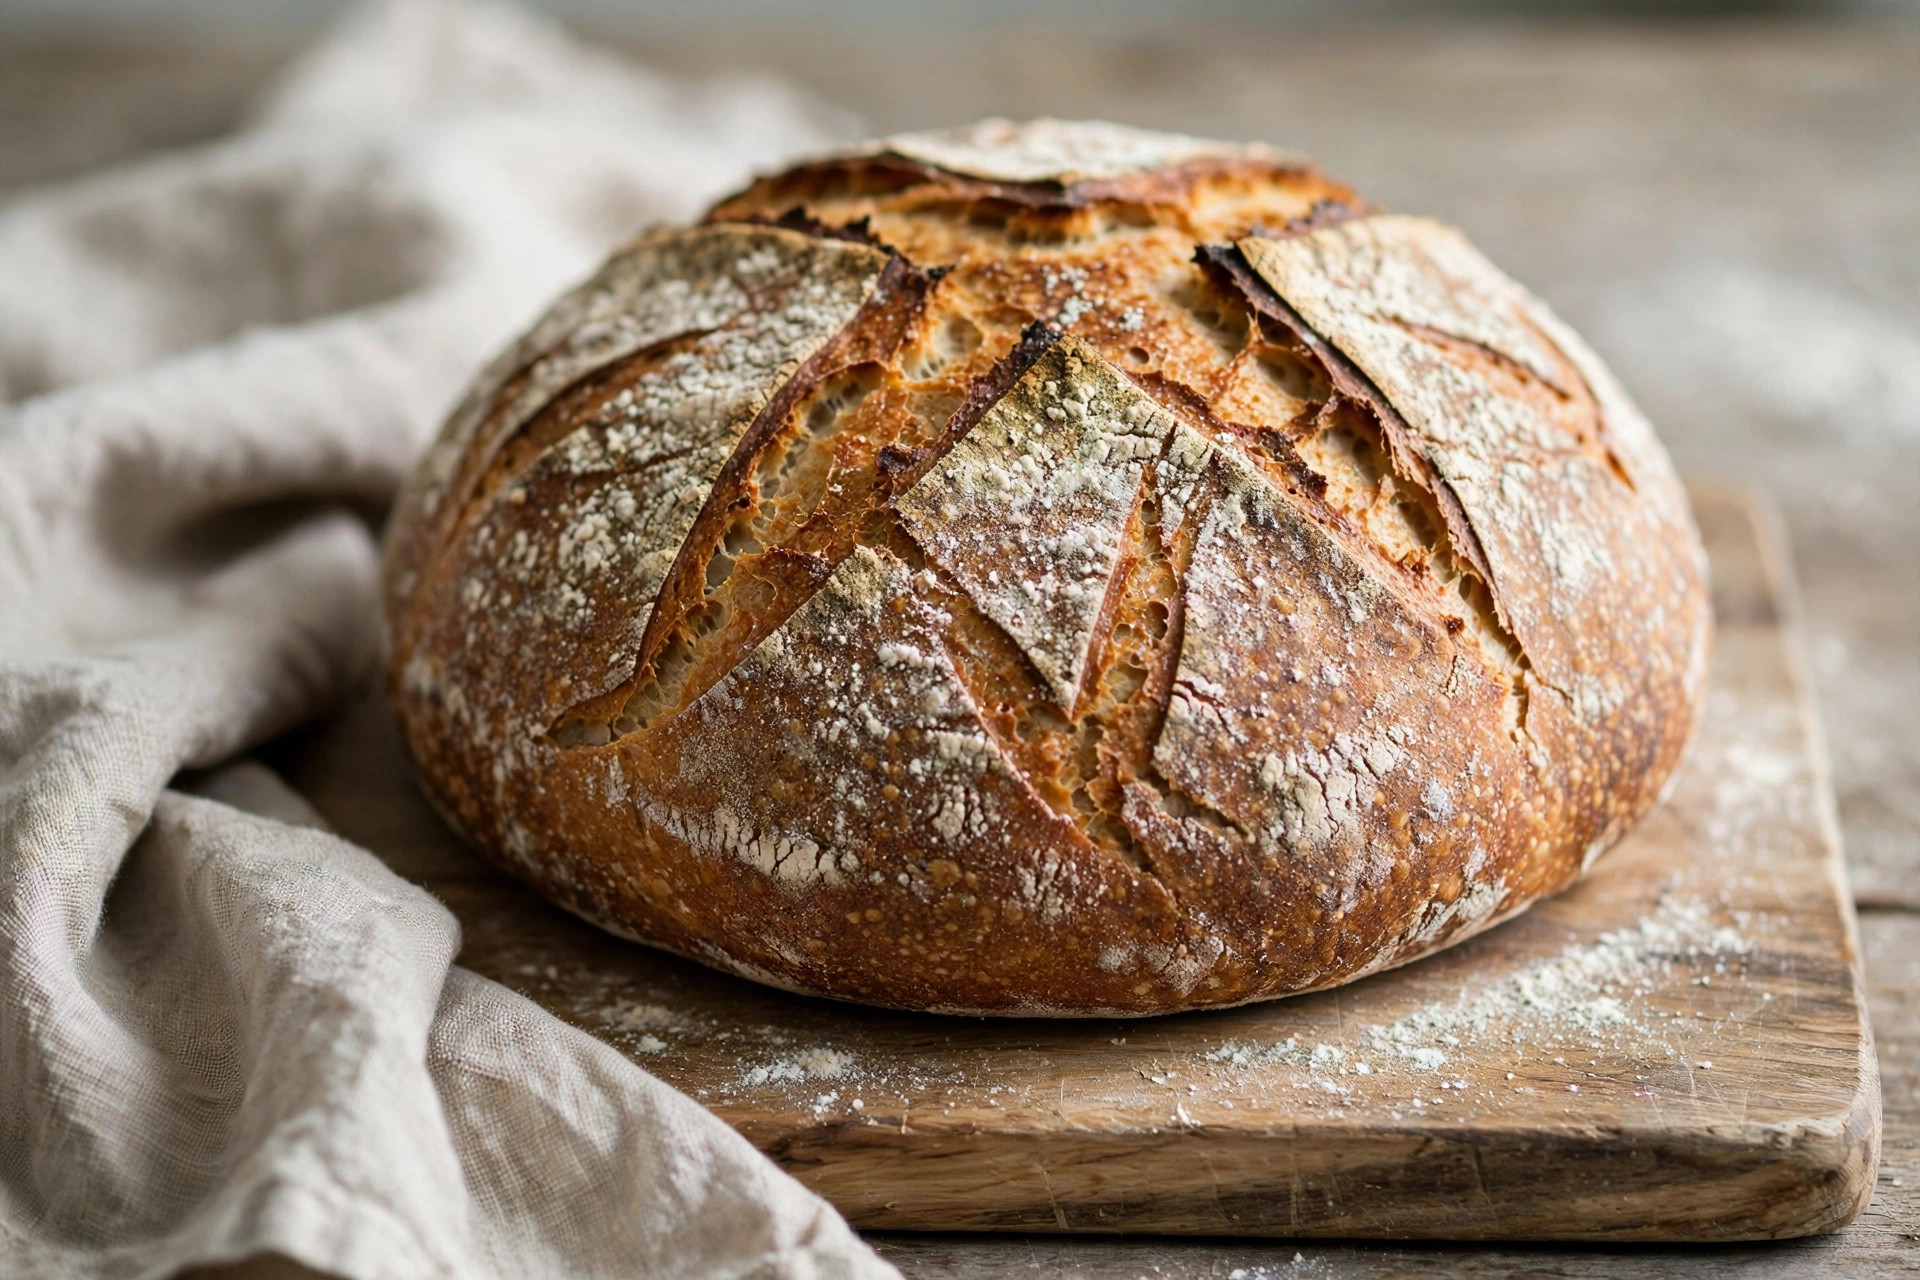
There is a particular sound that tells you a sourdough loaf is done — a hollow, drum-like thunk when you tap the bottom. The first time I pulled a loaf from my oven and heard it, after months of dense, gummy attempts, I nearly did a victory lap around the kitchen. This recipe is the one that finally made that sound a regular occurrence in my house.
Classic sourdough bread asks for patience more than skill. There are no complicated techniques here, just flour, water, salt, and a lively starter doing the slow work overnight while you sleep. The long bulk ferment is where all the magic happens: the flavor deepens, the gluten relaxes into a strong, stretchy network, and the crumb opens up into those irregular, custardy holes that make toast transcendent. If you’ve been intimidated by sourdough, start here. This is the loaf that converts skeptics.

One note: the recipe lists grams and cups, but a kitchen scale gives far more consistent results — sourdough rewards precision.
Why You’ll Love This Recipe
- Only four ingredients — flour, water, salt, and starter. No commercial yeast, no enrichments, nothing fancy.
- Overnight schedule that fits real life — mix in the evening, let it ferment while you sleep, shape in the morning, bake by afternoon.
- Crackling crust, open crumb — the Dutch oven traps steam for a shattering crust and a bold, blistered exterior.
- Deep, complex flavor — the long cold proof develops that signature tangy sourdough depth you can’t rush.
- Stays fresh for days — the acidity from fermentation keeps this loaf tasting fresh far longer than yeasted bread.
Ingredients
For the Dough
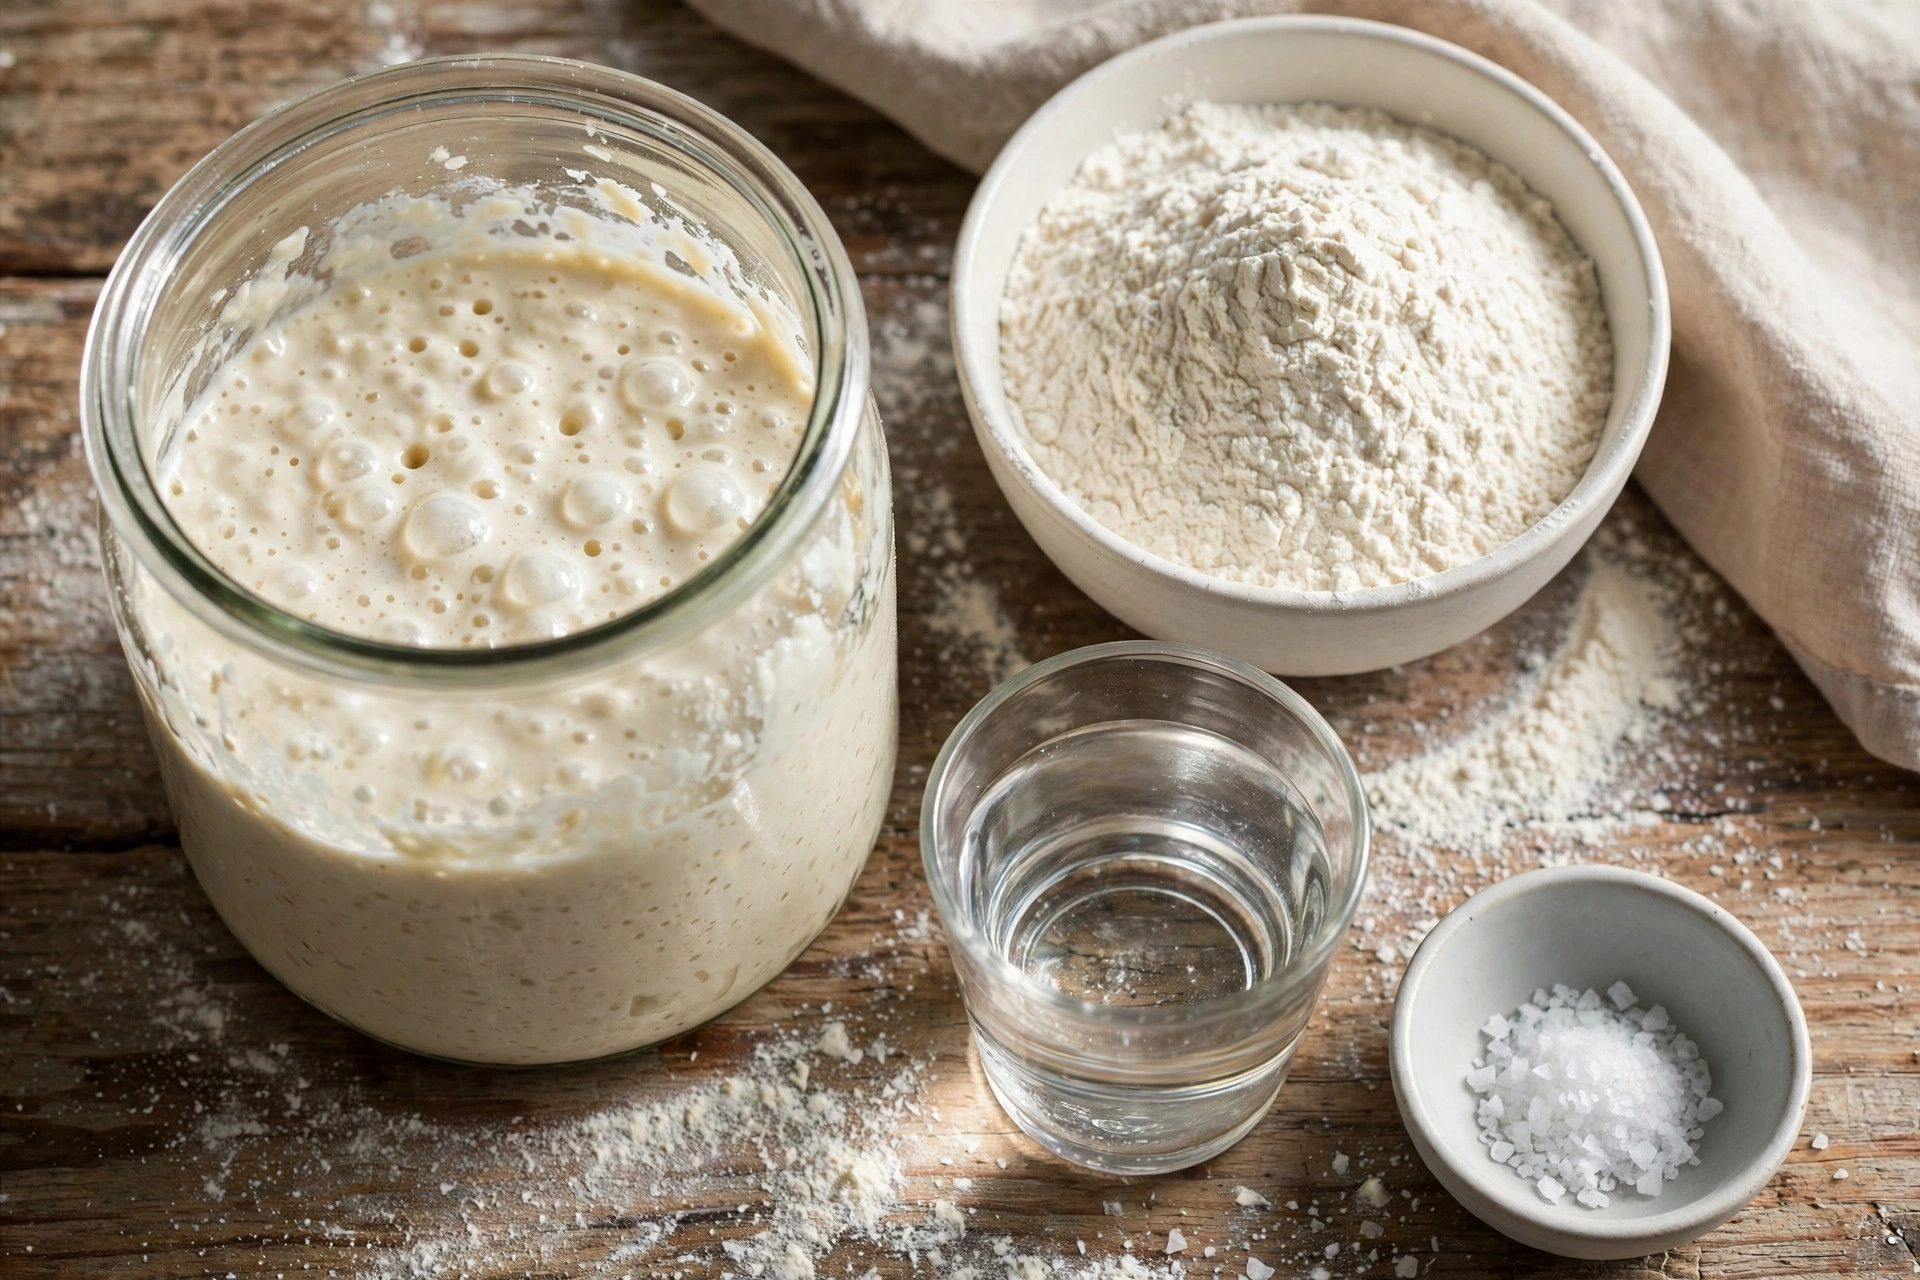
- 50 g (1/4 cup) ripe, active sourdough starter
- 375 g (1 1/2 cups + 2 tablespoons) lukewarm water
- 500 g (4 cups) bread flour
- 10 g (2 teaspoons) fine sea salt
For Shaping
- Rice flour or all-purpose flour, for dusting the banneton
Instructions
- Wake up your starter. Feed your sourdough starter 8 to 12 hours before you plan to mix the dough. It is ready when it has at least doubled in size, is full of bubbles, and a spoonful floats in water. A sluggish starter makes a sluggish loaf, so don’t rush this step.
- Mix the dough (autolyse). In a large mixing bowl, whisk the ripe starter into the lukewarm water until it is mostly dissolved and milky. Add the bread flour and mix with your hands or a sturdy wooden spoon until no dry pockets of flour remain. The dough will look shaggy — that’s fine. Cover with a damp towel or plastic wrap and rest for 45 minutes. This rest, called the autolyse, lets the flour hydrate fully and makes the dough noticeably easier to handle.
- Add the salt. Sprinkle the salt evenly over the dough. With wet fingers, pinch and fold the dough over itself for about a minute until the salt is fully incorporated. You’ll feel the dough tighten up almost immediately.
- Bulk ferment overnight. Cover the bowl and let the dough ferment at cool room temperature, 68-72°F (20-22°C), for 8 to 10 hours. During the first 3 hours, perform 4 sets of stretch and folds, spaced about 45 minutes apart: wet your hand, grab one edge of the dough, stretch it up, and fold it over the center, rotating the bowl a quarter turn and repeating until you’ve gone all the way around. The dough is ready when it has risen roughly 50%, looks puffy and airy, and jiggles like gelatin when you nudge the bowl. If your kitchen is warm, it will go faster — watch the dough, not the clock.
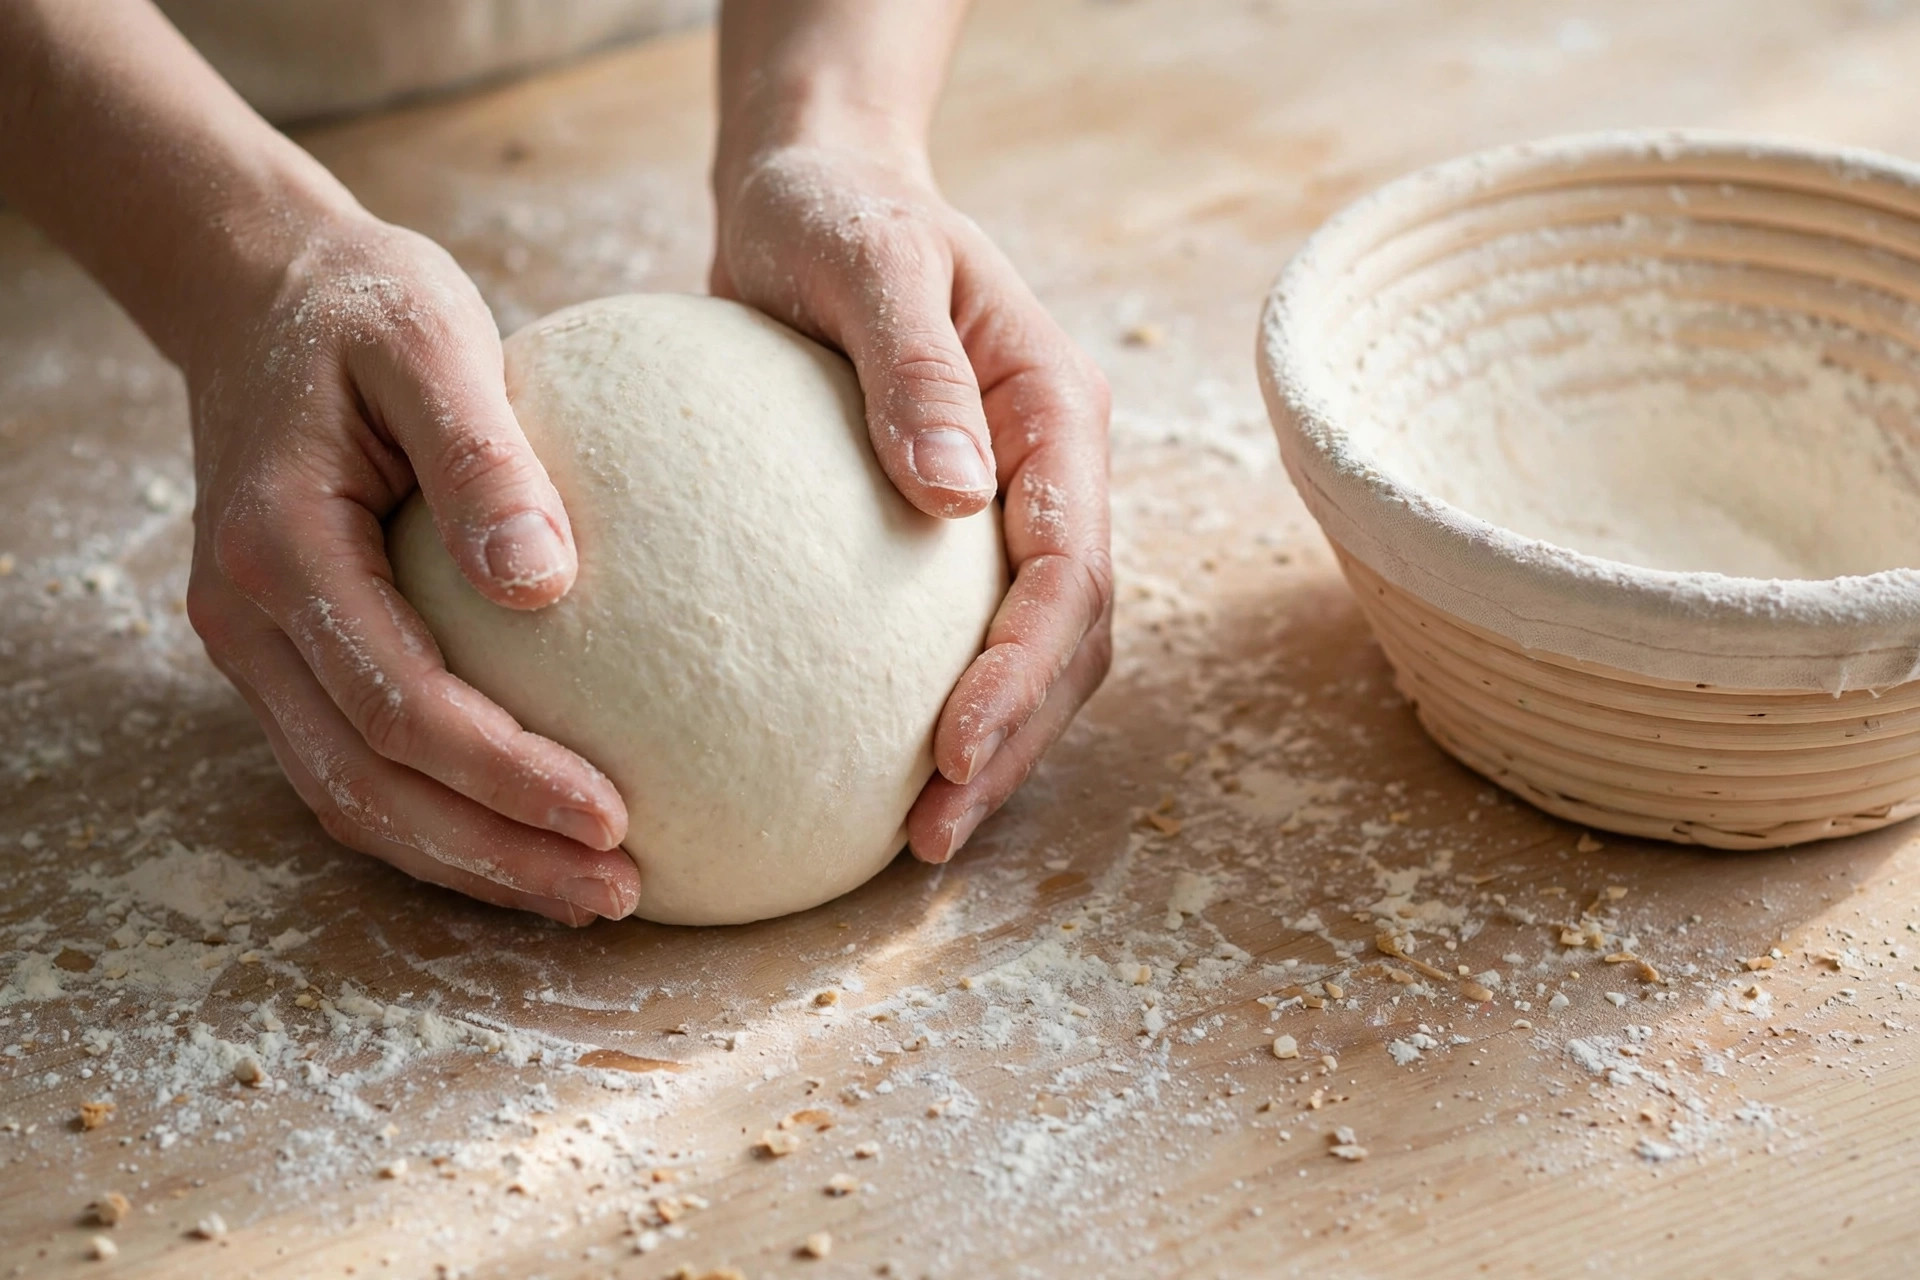
- Shape. Turn the dough out onto a lightly floured counter. Gently preshape it into a round by tucking the edges underneath, then let it rest, seam-side down, for 20 minutes. Flip it over and shape it tightly into a boule or batard, pulling the surface taut as you go — surface tension is what gives you a good oven spring and a proud ear.
- Cold proof. Dust a banneton or a bowl lined with a floured tea towel generously with rice flour. Place the shaped loaf seam-side up, cover, and refrigerate for 12 to 16 hours. This cold retard is where the tangy flavor develops.
- Preheat with the Dutch oven inside. The next morning, put your Dutch oven with its lid on into the oven and preheat to 450°F (230°C) for a full 45 minutes. A ripping-hot pot is non-negotiable for oven spring.
- Score and bake. Turn the cold loaf out onto a sheet of parchment paper. Using a sharp lame or serrated knife, score one deep slash (about 1/2 inch deep) down the center at a slight angle. Using the parchment as a sling, lower the loaf into the hot Dutch oven, cover, and bake for 20 minutes. Remove the lid and bake 20 to 25 minutes more, until the crust is a deep, burnished golden brown and the bottom of the loaf sounds hollow when tapped.
- Cool completely. Transfer to a wire rack and resist slicing for at least 2 hours. The inside is still cooking as it cools, and cutting early gives you a gummy crumb. I know — it’s the hardest step in the whole recipe.
Tips and Variations
- Whole wheat boost: Swap up to 100 g (about 3/4 cup) of the bread flour for whole wheat flour for a nuttier flavor and slightly tighter crumb. Add an extra tablespoon of water since whole wheat thirsts for more hydration.
- Seeded crust: After shaping, mist the loaf lightly and roll it in sesame seeds, rolled oats, or a mix of sunflower and pumpkin seeds before placing it in the banneton.
- No Dutch oven? Bake on a preheated baking stone or steel with a deep oven-safe pan of boiling water on the rack below for steam. It won’t be quite as dramatic, but it works.
- Under-proofed vs. over-proofed: If your loaf spreads flat with a tight crumb, it likely needed more bulk time. If it collapses and tastes overly sour, it went too long. Take notes each bake — sourdough is a conversation with your kitchen’s temperature.
Storage
Store the cooled loaf cut-side down on a board or in a paper bag for up to 3 days — plastic softens the crust. Slice and freeze for longer keeping, toasting straight from frozen. Day-old slices make great breakfast toast, breadcrumbs, or panzanella.
FAQ
How do I know my starter is active enough?
Drop a spoonful of starter into water — if it floats, it’s ready to leaven bread. If it sinks, feed it again and wait a few hours.
Can I bake this the same day instead of overnight?
Yes — proof the shaped loaf at room temperature for 2 to 3 hours until puffy, then bake. The flavor will be milder without the cold retard, but still delicious.
Why is my crumb dense and gummy?
The usual culprits: an under-ripe starter, too short a bulk ferment, or slicing before the loaf cooled. Verify your oven truly hits 450°F with a thermometer.
Can I double the recipe?
Absolutely — divide the doubled dough into two loaves after bulk ferment and bake one at a time, reheating the Dutch oven 20 minutes between bakes.
Recipe Card
- Prep Time: 40 minutes (active)
- Cook Time: 45 minutes
- Total Time: 21 hours (includes overnight ferment and cold proof)
- Servings: 1 large loaf (12 slices)
- Calories: 265 kcal per slice
If you love slow baking projects, the rustic outdoor-style loaf is a worthy next bake.