
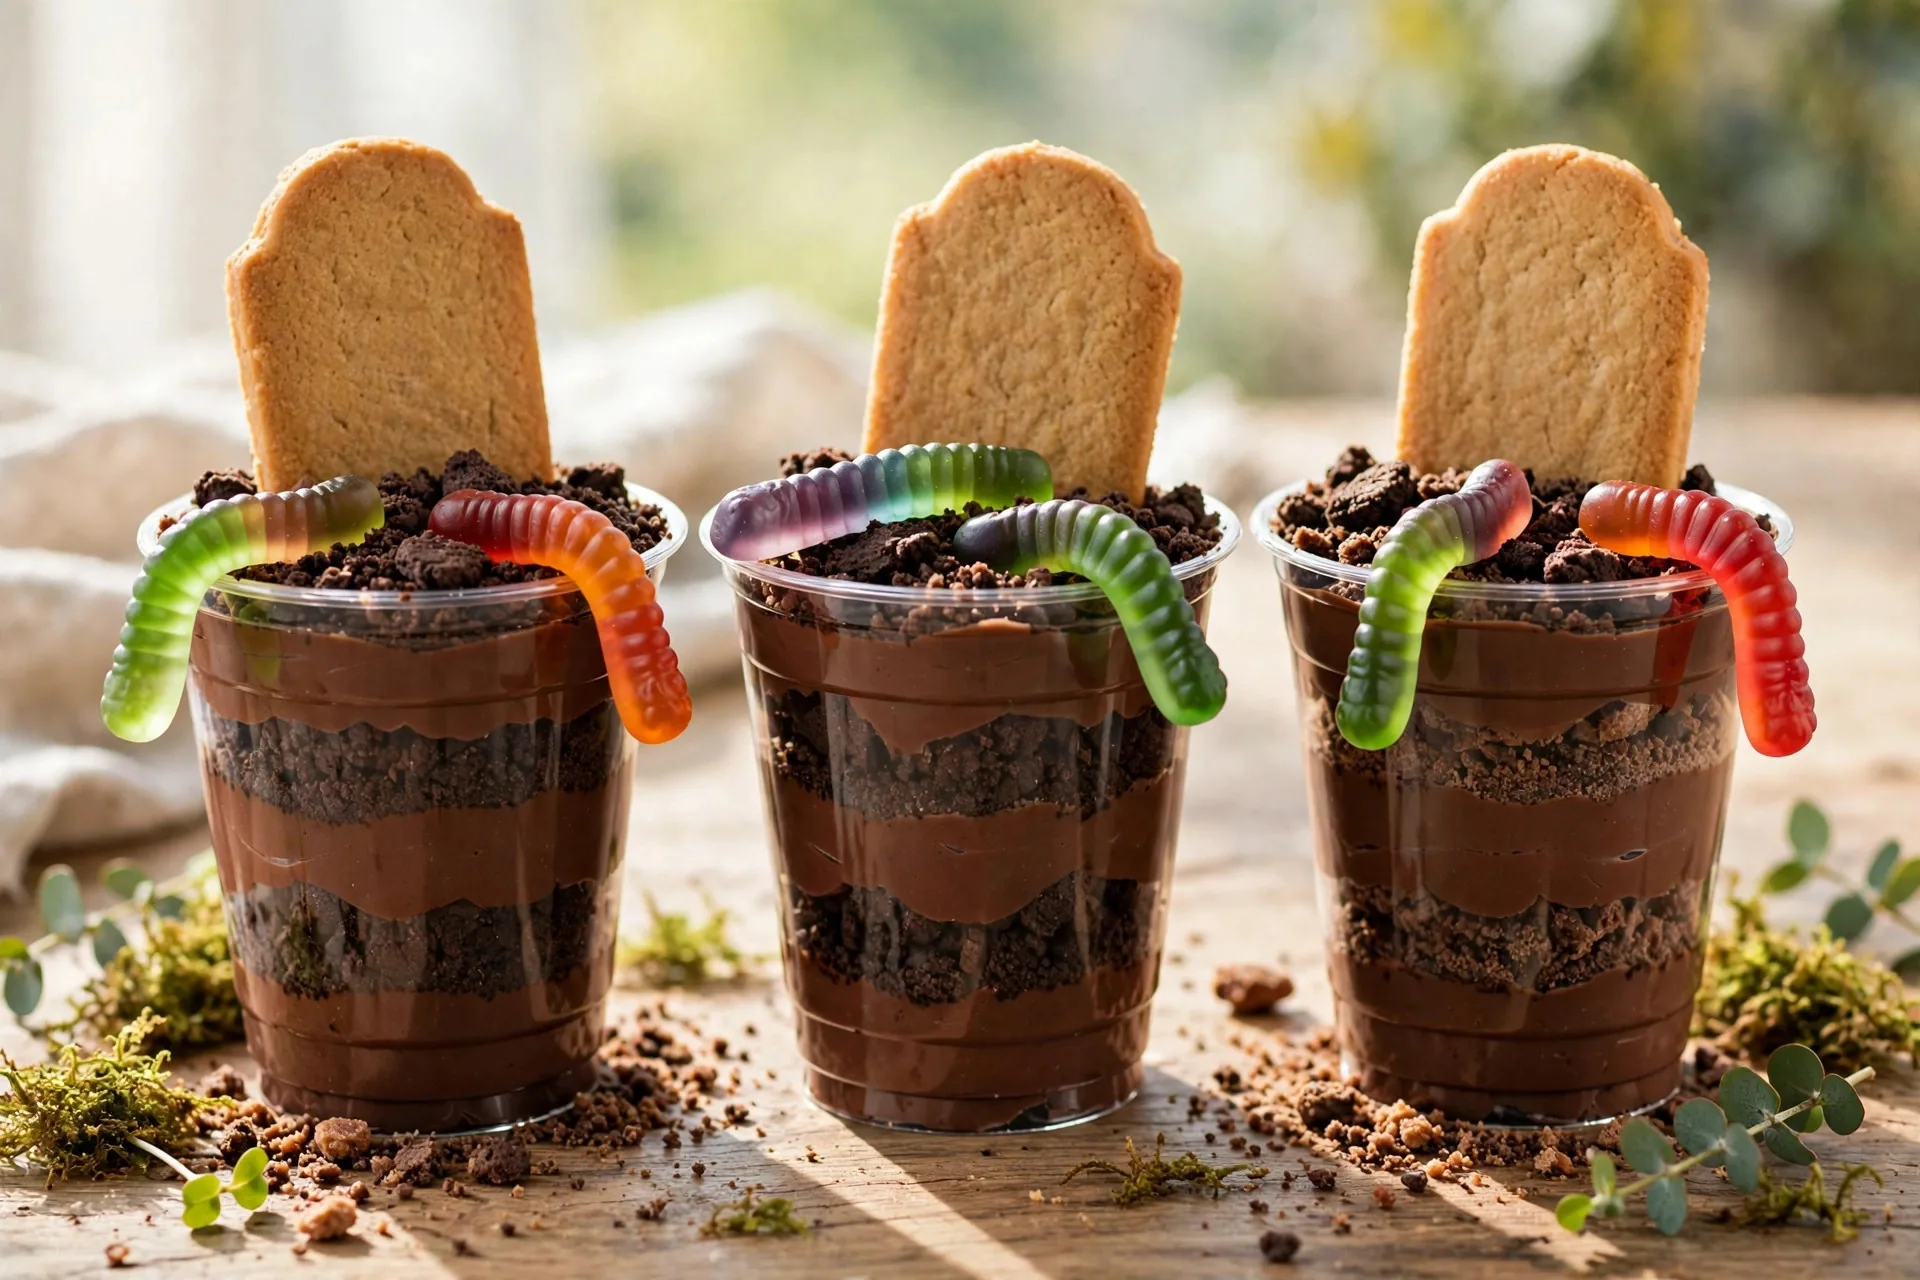
Graveyard Dirt Cups for Halloween
Some desserts are just for eating, and some are for giggling first. Graveyard dirt cups are firmly in the second camp — and honestly, that’s exactly what makes them the star of every Halloween spread. Little clear cups of silky chocolate pudding layered with crushed cookie “dirt,” each one topped with a cookie tombstone and a gummy worm crawling out of the grave. Kids absolutely lose their minds over them, and grown-ups… well, grown-ups reach for one when they think nobody’s looking.
The best part? These graveyard dirt cups are completely no-bake and come together in about 20 minutes of actual work. No oven, no candy thermometer, no fiddly decorating skills required. You whisk pudding, crush cookies, layer, and chill — that’s the whole job. They’re make-ahead friendly too, which means you can assemble them the night before your party and spend the actual day on costumes and cobwebs instead of dessert.
Why you’ll love this recipe
- No baking required. Everything comes together in a bowl and a food processor — perfect for busy October schedules.
- Kid-approved and party-ready. Individual cups mean no slicing, no serving dishes, and easy handing out at parties or school events.
- Make-ahead friendly. Assemble up to 24 hours in advance and let the fridge do the work.
- Fun to decorate. Let kids place their own tombstones and worms — it’s half the entertainment.
- Budget-friendly. Pudding mix, cookies, and whipped topping are all pantry and freezer staples.
Ingredients
For the pudding layers
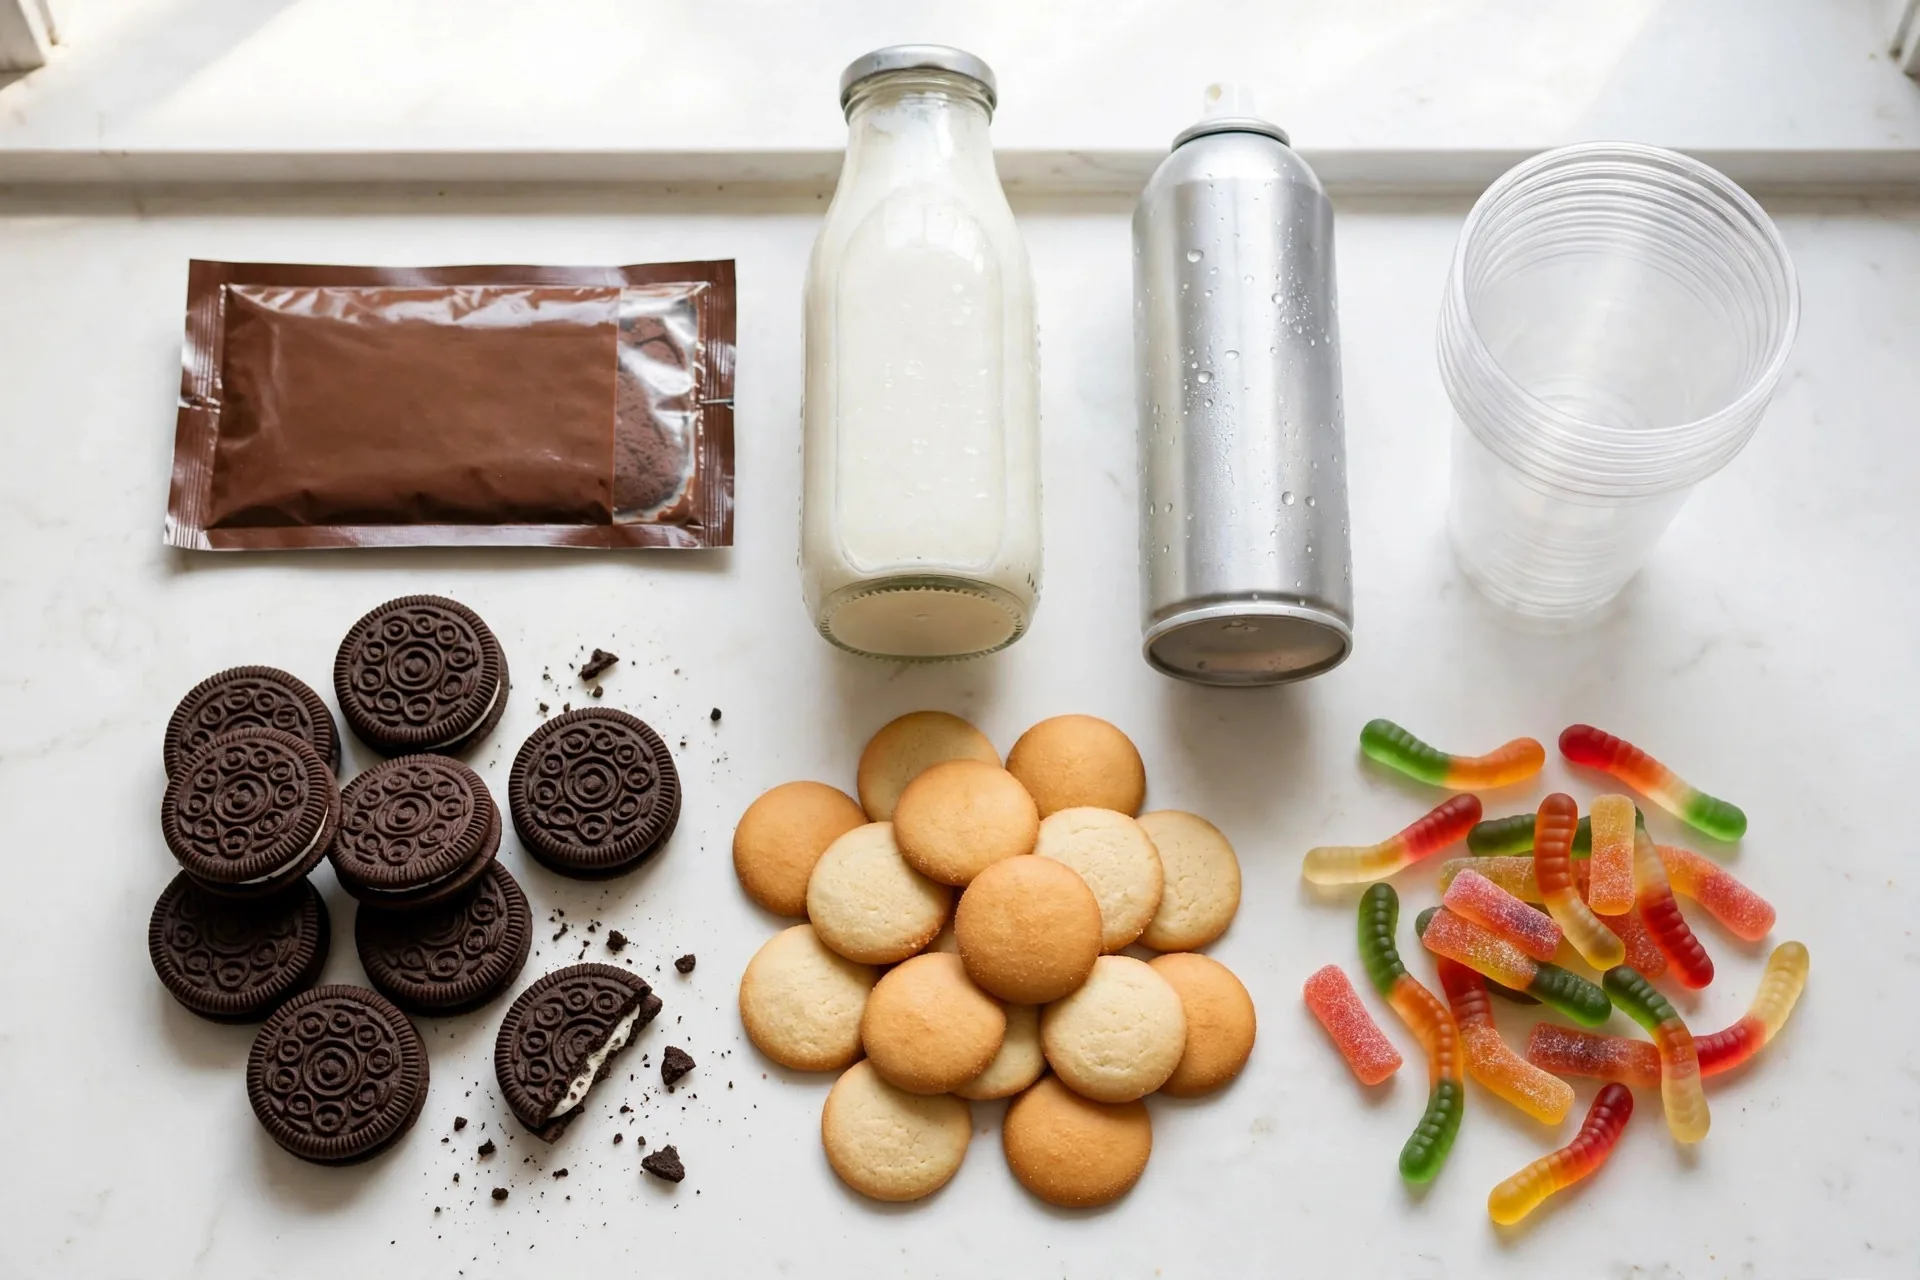
- 1 package (3.9 oz / 110 g) instant chocolate pudding mix
- 2 cups (480 ml) cold whole milk
- 1 container (8 oz / 227 g) frozen whipped topping, thawed
For the “dirt” and decorations
- 1 package (14.3 oz / 405 g) chocolate sandwich cookies, crushed into coarse crumbs
- 10 oval vanilla sandwich cookies (Milano-style), for the tombstones
- 10 gummy worms
Instructions
- Whisk the pudding. In a large bowl, whisk the instant chocolate pudding mix with the cold whole milk for about 2 minutes, until it starts to thicken. Fold in the thawed whipped topping with a spatula until the mixture is smooth and fluffy. Let it sit for 5 minutes to firm up slightly.
- Make the dirt. Crush the chocolate sandwich cookies into coarse crumbs. A food processor gives you the most even texture in seconds, but a zip-top bag and a rolling pin work just as well — leave some bigger pieces for a realistic dirt look. Reserve about 1/2 cup of the crumbs for the final topping.
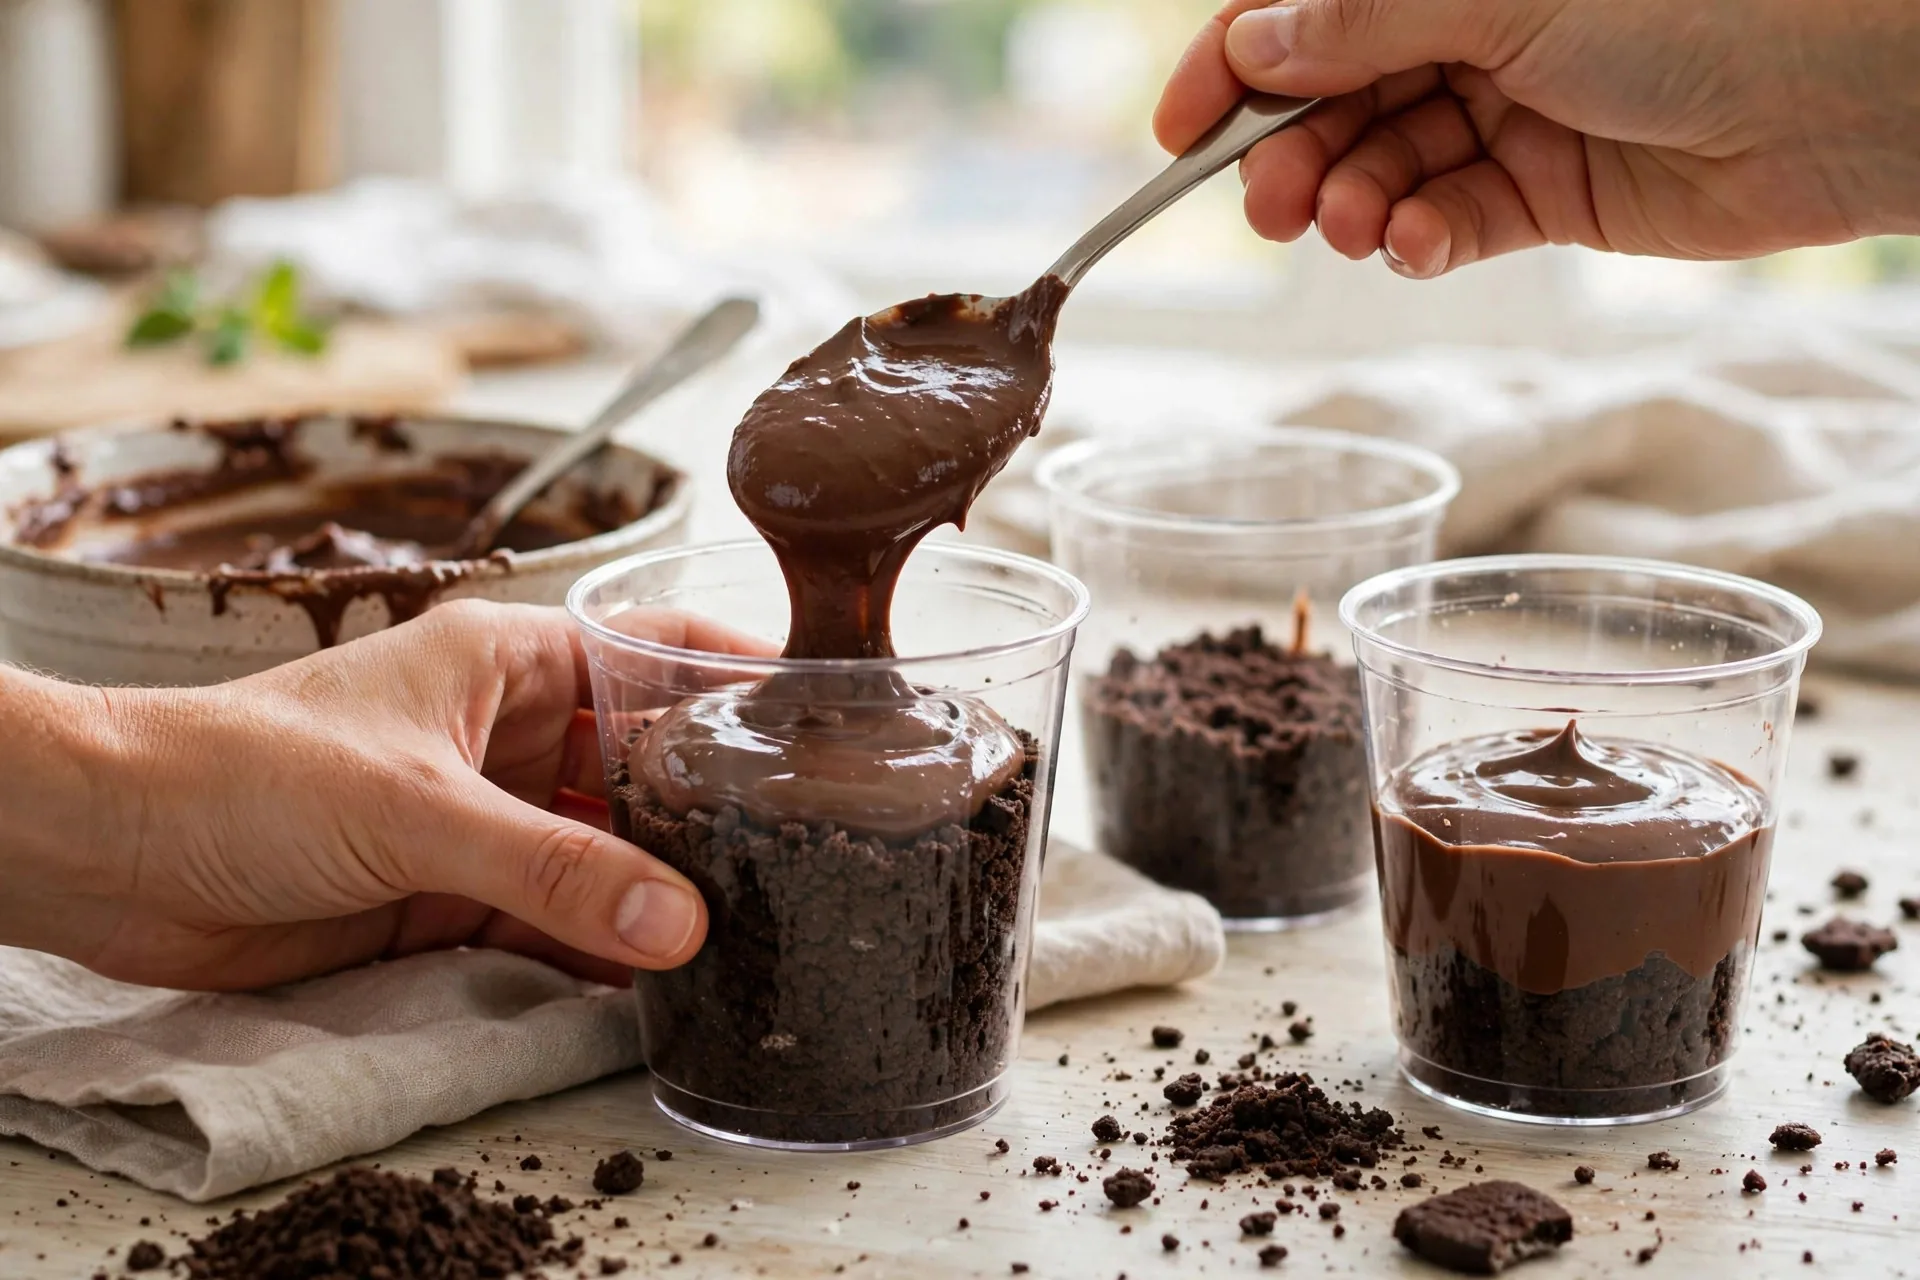
- Start layering. Spoon about 2 tablespoons of cookie crumbs into the bottom of each of 10 clear plastic or glass cups (5 to 6 oz cups are ideal). Spread roughly 1/4 cup of the pudding mixture over the crumbs and smooth the top.
- Build it up. Repeat the layers — another spoonful of crumbs, then more pudding — until each cup is nearly full. Finish every cup with a generous layer of the reserved cookie crumbs, pressing them gently so they look like freshly mounded grave dirt.
- Decorate the graves. Press one oval cookie upright into the dirt layer at the back of each cup, like a tombstone. Drape a gummy worm over the front edge of each cup so it looks like it’s crawling out of the grave.
- Chill before serving. Refrigerate the cups for at least 1 hour so the pudding sets and the flavors meld. Serve cold.
Tips for success
- Use cold milk straight from the fridge — instant pudding needs cold liquid to set properly.
- Fold the whipped topping in gently rather than whisking, so the pudding stays light and airy.
- Don’t over-crush the cookies. A mix of fine crumbs and small chunks reads as real “dirt” much better than powder.
- Add the tombstones and worms just before serving if you’re making these more than a day ahead, so the cookies stay crisp.
- Clear cups are key — the layered look is half the fun, so let everyone see the strata of pudding and dirt.
Variations
- Oreo cheesecake version: Fold 4 oz (115 g) of softened cream cheese into the pudding for a richer, tangier filling.
- Peanut butter dirt cups: Whisk 1/3 cup (85 g) of creamy peanut butter into the pudding before folding in the whipped topping.
- Gluten-free: Use gluten-free chocolate sandwich cookies and a gluten-free pudding mix — the structure of the recipe is unchanged.
- Different tombstones: Shortbread rectangles, graham cracker halves, or even rectangular pretzel sticks dipped in chocolate all work as gravestones.
- Extra spooky: Add a few candy bones or chocolate rocks on top of the dirt for a bone-yard effect.
Storage and make-ahead
Graveyard dirt cups keep beautifully in the refrigerator for up to 3 days — just cover them loosely with plastic wrap so the tops don’t absorb fridge odors. They’re genuinely better after at least an hour of chilling, so making them the night before a party is ideal. If you’re prepping more than a day ahead, wait to add the tombstone cookies and gummy worms until serving day so the cookies stay crisp and the worms don’t dry out.
Freezing isn’t recommended — the pudding can turn grainy and the cookies go soggy when thawed. With only 20 minutes of active time, there’s no need to freeze them anyway.
Frequently asked questions
Can I use homemade whipped cream instead of frozen whipped topping?
Yes. Whip 1 1/2 cups (360 ml) of heavy cream with 2 tablespoons of powdered sugar to soft peaks and fold it in. Just note that real whipped cream weeps a little faster, so serve within 24 hours for the best texture.
What can I use instead of Milano-style cookies for the tombstones?
Anything flat and rectangular works: shortbread fingers, graham cracker halves, vanilla wafers, or even chocolate-covered biscuit sticks. The tombstone is decorative, so get creative with what you have.
How many cups does this recipe make?
About 10 cups in 5 to 6 oz containers. For a bigger crowd, the recipe doubles perfectly — just whisk the pudding in a very large bowl so you have room to fold.
Can kids help make these?
Absolutely — this is one of the best kid-friendly Halloween recipes there is. Let them crush the cookies in the bag, spoon the layers, and decorate their own graves. Mess is half the fun.

Recipe card
| Prep time | 20 minutes |
|---|---|
| Cook time | None (no-bake) |
| Total time | 1 hour 20 minutes (including chilling) |
| Servings | 10 cups |
| Calories per serving | 340 kcal |
Whether you’re setting out a spooky spread for a Halloween party or just want a fun weekend project with the kids, these graveyard dirt cups deliver maximum atmosphere with minimum effort. And if you’re building out your Halloween dessert table, don’t miss our collection of desserts — the no-bake strawberry cheesecake cups are another crowd-pleaser that require zero oven time.