

Of everything in this bakery series, pain au chocolat is the one that makes people gasp. Those shattering layers, the honeycomb crumb inside, the two dark batons of chocolate running through the middle like a secret — it’s the pastry that defines a French breakfast, and you can absolutely make it in a home kitchen. It takes time, yes. Most of that time the dough is just sitting in your fridge while you live your life.
Lamination is simpler than it sounds: wrap butter in dough, roll it out, fold it like a letter, and repeat — three folds gives you 27 layers that puff apart in a hot oven. Just keep everything cold and proof gently so the butter never melts before baking.
Plan it as a weekend project: dough Friday night, laminate Saturday, bake Sunday morning. If laminated dough has you curious for more, our gipfeli recipe is a wonderful next step — and our easy crumbl cookie recipe delivers big bakery flavor with far less effort.

Why You’ll Love This Recipe
- True laminated layers — 27 layers of butter and dough for that shattering croissant crunch
- Clear, calm instructions — every fold explained with dimensions and timing, no guesswork
- Weekend-friendly schedule — the fridge does most of the work overnight
- Real chocolate batons — dark, melty, and properly proportioned (no sad chocolate chips)
- Freezer stash — freeze shaped, unbaked pastries and bake fresh on demand
Ingredients
For the Dough
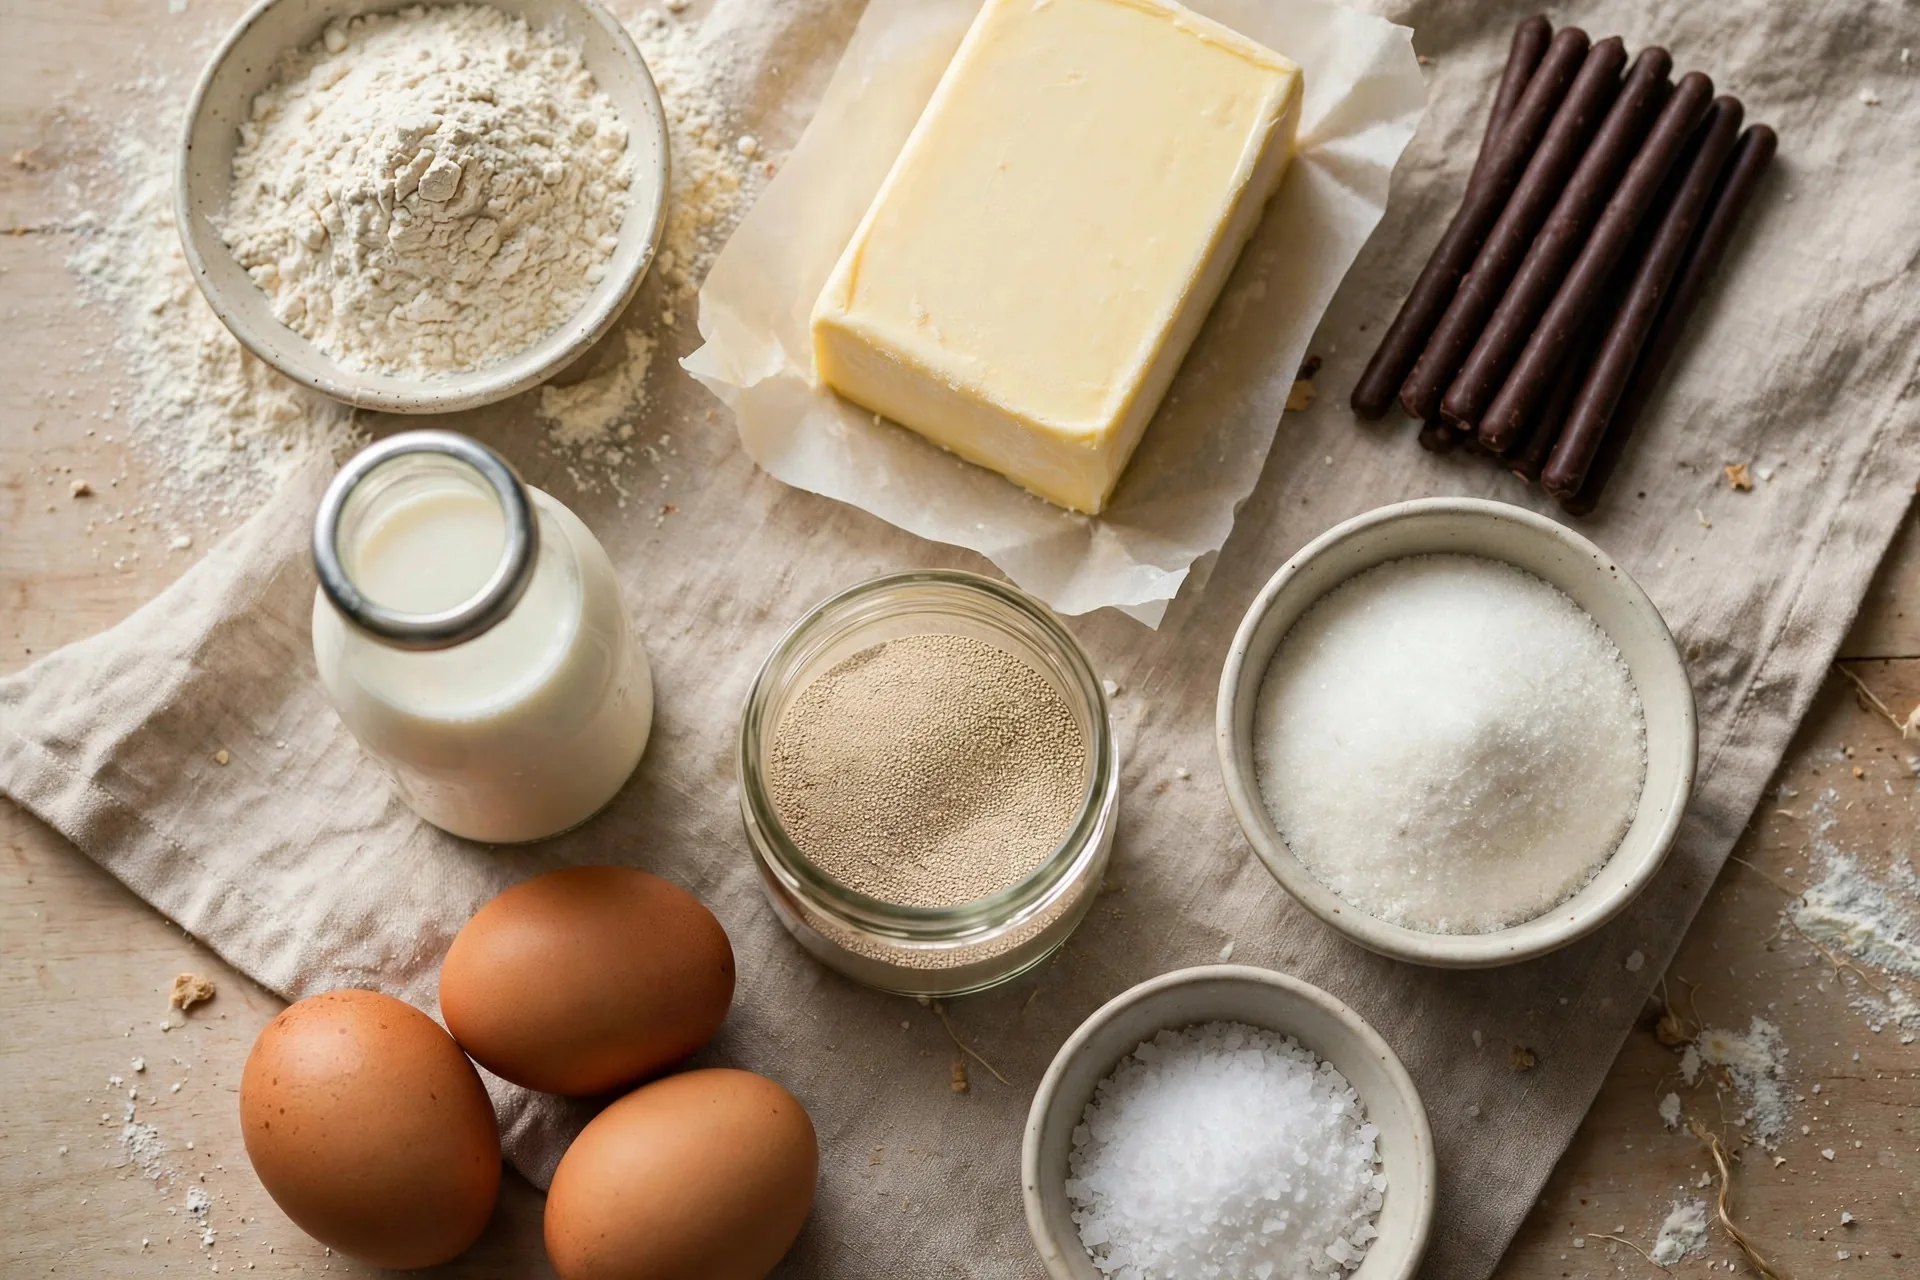
- 3 1/2 cups (440 g) bread flour
- 1/4 cup (50 g) granulated sugar
- 2 teaspoons (12 g) fine sea salt
- 2 1/4 teaspoons (1 packet / 7 g) instant yeast
- 1 cup (240 ml) cold whole milk
- 1/4 cup (57 g) unsalted butter, softened
For Lamination & Shaping
- 1 1/4 cups (285 g) European-style unsalted butter, cold (for the butter block)
- 16 chocolate batons (about 4 oz / 115 g semisweet chocolate), or chocolate bars cut into sticks
- 1 large egg, beaten with 1 tablespoon milk (egg wash)
Instructions
Day 1 — Evening: Make the Dough
- Mix. In a stand mixer fitted with the dough hook, combine the flour, sugar, salt, and instant yeast. Add the cold milk and softened butter and knead on medium-low for 5 minutes until smooth and elastic. This dough is lean — it should feel firm and smooth, not sticky.
- Overnight rest. Pat the dough into a flat rectangle about 1 inch thick, wrap tightly in plastic, and refrigerate overnight (8-12 hours). The cold rest relaxes the gluten and develops flavor — don’t shortcut it.
Day 2 — Morning: Laminate
- Make the butter block. Place the cold butter between two sheets of parchment and pound it with a rolling pin, then roll into a neat 7×7-inch (18×18 cm) square. The butter needs to be cold but pliable — it should bend slightly without cracking. If it cracks, let it warm 5 minutes; if it’s soft and greasy, chill it back down. This temperature judgment is the single most important skill in lamination.
- Enclose the butter. On a lightly floured surface, roll the cold dough into a 14×14-inch (36×36 cm) square. Place the butter block in the center, rotated 45 degrees like a diamond. Fold the four corners of dough up and over the butter like an envelope, pinching every seam firmly sealed. No butter should peek out anywhere.
- First fold. With the seam side down, roll the package into a 20×10-inch (50×25 cm) rectangle, rolling from the center outward and keeping the thickness even. Brush off excess flour. Fold into thirds like a business letter: bottom third up, top third down. You now have 3 layers. Wrap and refrigerate for 1 hour.
- Folds two and three. Repeat the roll-and-letter-fold two more times, chilling 1 hour between each. Always roll with the open ends facing you (like a book opening toward you). After the third fold you have 27 layers. Refrigerate at least 1 hour — overnight is fine and even better.
Day 2 — Afternoon: Shape and Bake
- Cut and roll. Roll the dough to a 16×12-inch (40×30 cm) rectangle about 1/4 inch (6 mm) thick. Trim the edges straight with a sharp knife or pizza wheel — the sealed edges won’t separate into layers, so trimming exposes the strata. Cut into 8 rectangles, each about 4×6 inches (10×15 cm). Place two chocolate batons across one short end of each rectangle and roll up firmly but not tightly. Place seam-side down on parchment-lined baking sheets, well spaced.
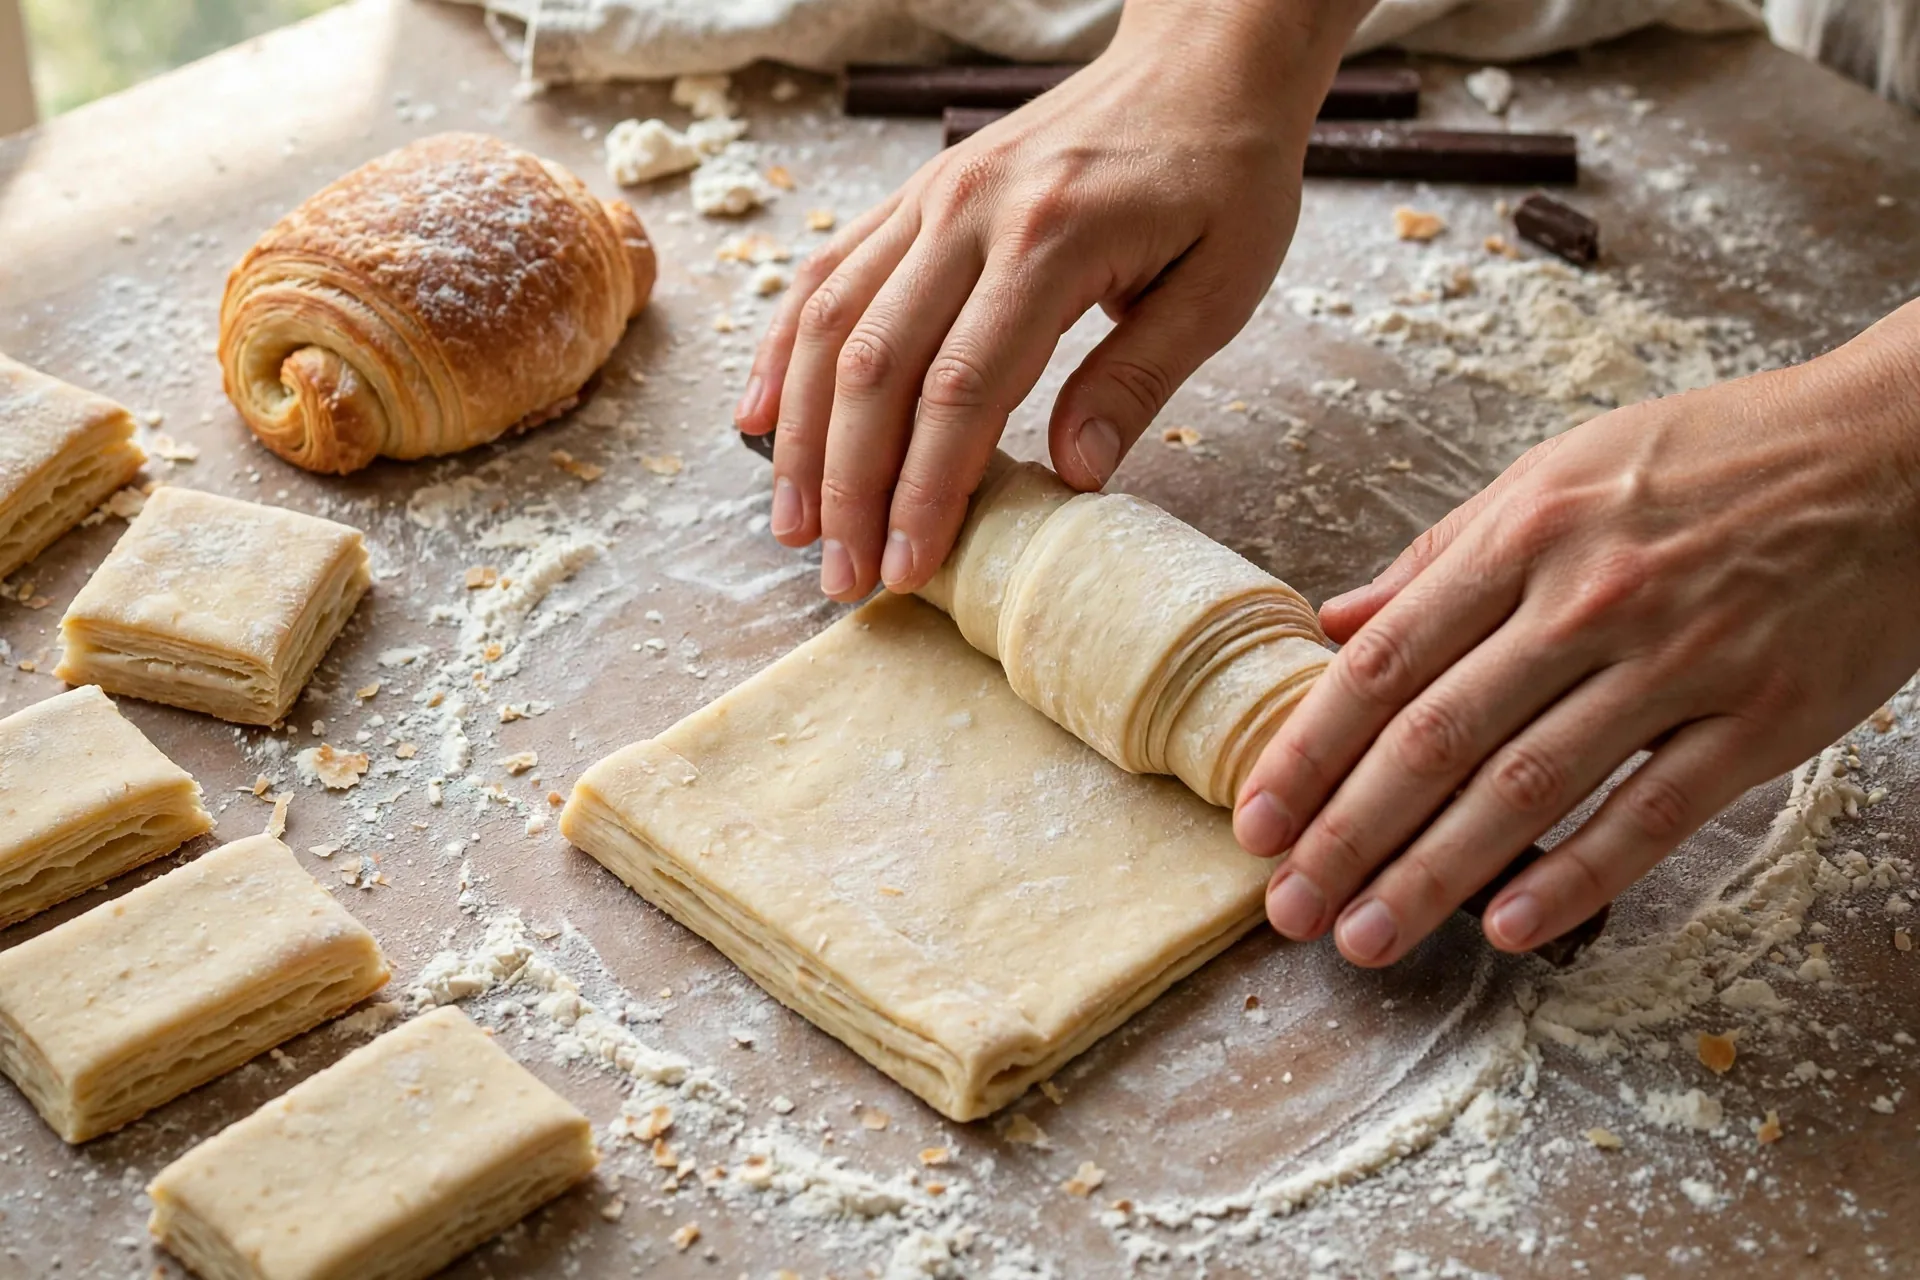
- Final proof — gently. Cover loosely with plastic and let rise at a cool room temperature, 68-72°F (20-22°C), for 1 1/2 to 2 hours, until visibly puffy and the layers look separated and jiggly when you nudge the pan. This is the danger zone: if your kitchen is warm, the butter melts out of the layers and you’ll lose the flake. Proof in the coolest room you have, or in the turned-off oven with just the light on.
- Egg wash. Preheat the oven to 400°F (200°C). Brush the tops very gently with egg wash — use a soft touch and keep it off the cut sides, where it can glue the layers shut.
- Bake. Bake 18-20 minutes until deeply golden brown and crisp — pale croissant pastry is underbaked pastry. The bottoms should be golden too. Cool on a rack for at least 20 minutes before eating; the chocolate inside is genuinely molten and the crumb is still setting.
Tips & Variations
- European-style butter matters. Higher-fat butter (82%+) is more pliable when cold and less likely to crack or leak. It’s worth seeking out for this recipe.
- If butter breaks through, dust the spot with flour, keep going, and chill longer before the next fold. It’s fixable — don’t panic.
- Almond pain au chocolat. Spread a thin layer of almond frangipane on each rectangle before adding the chocolate, and top with sliced almonds before baking.
- Freeze for fresh mornings. Freeze shaped, unbaked pastries, then bag them. Proof from frozen (adds about an hour) and bake — fresh pain au chocolat any morning.
Storage
Pain au chocolat is best the day it’s baked, within a few hours of the oven. Store leftovers in an airtight container at room temperature for 1 day; refresh in a 350°F (175°C) oven for 5-7 minutes to re-crisp. Freeze baked pastries for up to a month and reheat from frozen at 350°F (175°C) for 10-12 minutes. Unbaked shaped pastries freeze beautifully for up to 2 months — proof from frozen and bake fresh.
FAQ
Can I use regular butter instead of European-style?
You can, but lower-fat butter cracks more easily when cold and melts faster when warm, so keep everything extra cold and work a little faster.
Why did butter leak out during baking?
Usually the final proof was too warm, or the folds weren’t sealed well. A little leakage is normal; a puddle means the butter melted before the structure set. Next time, proof cooler and make sure the oven is fully preheated.
Can I make the dough without a stand mixer?
Yes — knead by hand for 8-10 minutes. This is a firm dough, so it’s a bit of a workout, but very doable.
Where do I find chocolate batons?
Specialty baking shops and online retailers sell them, but a good semisweet chocolate bar cut into 1/2-inch sticks works perfectly — that’s what most home bakers use.
Recipe Card
- Prep time: 1 hour
- Cook time: 20 minutes
- Total time: 14 hours (mostly resting)
- Servings: 8 pastries
- Calories: 380 kcal per serving
Twenty-seven layers of butter, two batons of chocolate, one very proud baker. Magnifique.